inb4 dumpsterdiver
forum
K-ON! Skin v1.5
posted
Total Posts
48
Topic Starter
-The programs I'm using are GIMP 2 and Adobe Photoshop CS4. (Dunno if that's a version.)Nya-Chan wrote:
Questions:
-What program are you using? I can give some pointers if it's Photoshop (7.0 or Higher).
-Does the font you're using for the numbers have letters as well?
-What font IS that? (xD I want it~!)
-Yes it does
-It's actually a text generator online that I'm using. http://cooltext.com/
The font is Neon
Looking at the font generator, it's actually using the font "Blippo", which I know I have somewhere in my PC. By the looks of it, it seems that it's just a bunch of filters. It may be better to alter the font yourself with CS4 (CS#s are the newer versions after 7.0 if I recall right), since then you can fiddle with a lot more afterwards and make sure it all looks right.Mafiamaster wrote:
-The programs I'm using are GIMP 2 and Adobe Photoshop CS4. (Dunno if that's a version.)Nya-Chan wrote:
Questions:
-What program are you using? I can give some pointers if it's Photoshop (7.0 or Higher).
-Does the font you're using for the numbers have letters as well?
-What font IS that? (xD I want it~!)
-Yes it does
-It's actually a text generator online that I'm using. http://cooltext.com/
The font is Neon
... and heck, their 0 looks like an o! xD
To duplicate the same effects, use any "Blippo" font (I tested using "Blippo Blk BT", type in you number or letter.
-Duplicate the layer.
-Right click the new layer, and click "Rasterize Layer"
-Right click the preview image of the layer, click "Select Layer Transparency"
-Go to Select-->Modify-->Contract. Put in 4-6 for the amount. Hit enter, and the selection will shrink.
-Press delete.
-Double click on the layer or open up Layer Style.
-Drop Shadow: Opacity = 75, Angle =120, Distance = 6, Spread = 0, Size = 2.
-Outer Glow: Blend Mode = Screen, Opacity = 75, Noise = 0, Glow color = 23D3FF, Technique = Softer, Spread = 12, Size = 7
-Inner Glow: Blend Mode = Normal, Opacity = 78, Noise = 0, Glow Color = 23D3FF, Technique = Softer, Source = Edge, Spread = 11, Size = 3
-Fiddle with them to your liking, and save as png.
What I get:
(Prolly bigger than it should be, but just to show you).
My Blippo font might be different than theirs, or they may filter the 0 to become an o, I'm not sure. But they ARE using a Blippo font, and I used a Blippo font as well.
While it may take a bit longer (Maybe not depending on the load time of that site lol), you do get full control over the outcome. If you need the font, I can probably find it and put it up for you if you need it. :3
Topic Starter
Sorry, but where is the text maker in CS4 again? xD
Or posting 1 - 9 would be helpful, like you did with 0.
And possibly throw in an x, dot, comma, and a percent sign! xD
Or posting 1 - 9 would be helpful, like you did with 0.
And possibly throw in an x, dot, comma, and a percent sign! xD
For future Reference: It's in the tools Window (A rectangle usually with two rows of pictures icons), should be a letter "T".Mafiamaster wrote:
Sorry, but where is the text maker in CS4 again? xD
But since it takes just a couple minutes, here's the numbers and the extra symbols. Resize and whatnot to make them fit into the pixel dimensions for the number files. The percent one's rather thin cause it wasn't 6pix wide in any part. xD;
Topic Starter
This map has been deleted on the request of its creator. It is no longer available.
This map has been deleted on the request of its creator. It is no longer available.
How do you make a skin for a anime that's been going for ~2 episodes?(It's Friday so there should be a new one right? I see the ep. 2 raw up anyways.)
I think the hitcircleoverlay hide the white around the around the hit circle, but that's cheating isn't it, and I think the overlay's edges are a bit too sharp, and it doesn't really cover it all. I don't really see it in such a fast paced map or game though. But there are obvious ones, like the rankings and the pass/fail.
Just some suggestions: Maybe make the slider's rails black, or a darker color, since the hit circle is kind of dark.
Same with the approach circle? Make it darker? Just overlay it with gray? Not too dark though. I would say the slider's track colors, but that messes with the hit circle's color, and no I'm not talking about the force slider color.
Check these out, they are more obvious on slower maps, but I can see it on darker background easily(like on dumpsterdiver's post). It's easier to see for yourself, try playing one withadark background, like Red Rocket Rising, or any slow map. But that rim around it should be easy to take out. I think minus the ring it'll(hit circle) be fine. White is noticable, but it's cover up be the overlay mostly, but as I said that's cheating, but a smart way of it.
I think the hitcircleoverlay hide the white around the around the hit circle, but that's cheating isn't it, and I think the overlay's edges are a bit too sharp, and it doesn't really cover it all. I don't really see it in such a fast paced map or game though.
But there are obvious ones, like the rankings and the pass/fail.Just some suggestions: Maybe make the slider's rails black, or a darker color, since the hit circle is kind of dark.
Same with the approach circle? Make it darker? Just overlay it with gray? Not too dark though. I would say the slider's track colors, but that messes with the hit circle's color, and no I'm not talking about the force slider color.
Check these out, they are more obvious on slower maps, but I can see it on darker background easily(like on dumpsterdiver's post). It's easier to see for yourself, try playing one withadark background, like Red Rocket Rising, or any slow map. But that rim around it should be easy to take out. I think minus the ring it'll(hit circle) be fine. White is noticable, but it's cover up be the overlay mostly, but as I said that's cheating, but a smart way of it.
Topic Starter
Yeah I was thinking the same thing about the hit circle overlay, just leaving it white / default.
Also I kind of fixed the hit circle a little around the edges a bit more
Also I kind of fixed the hit circle a little around the edges a bit more
Where did someone say to leave it default :\ Did you misunderstand me? Or did someone suggest that, I meant the current on covers it well enough. I also like how it looks on other custom hit circles(the new Cirno one, ranked a bit back)Mafiamaster wrote:
Yeah I was thinking the same thing about the hit circle overlay, just leaving it white / default.
Also I kind of fixed the hit circle a little around the edges a bit more
I like the effect.
 Keep it!
Topic Starter
Rawr, guess I just misunderstood.
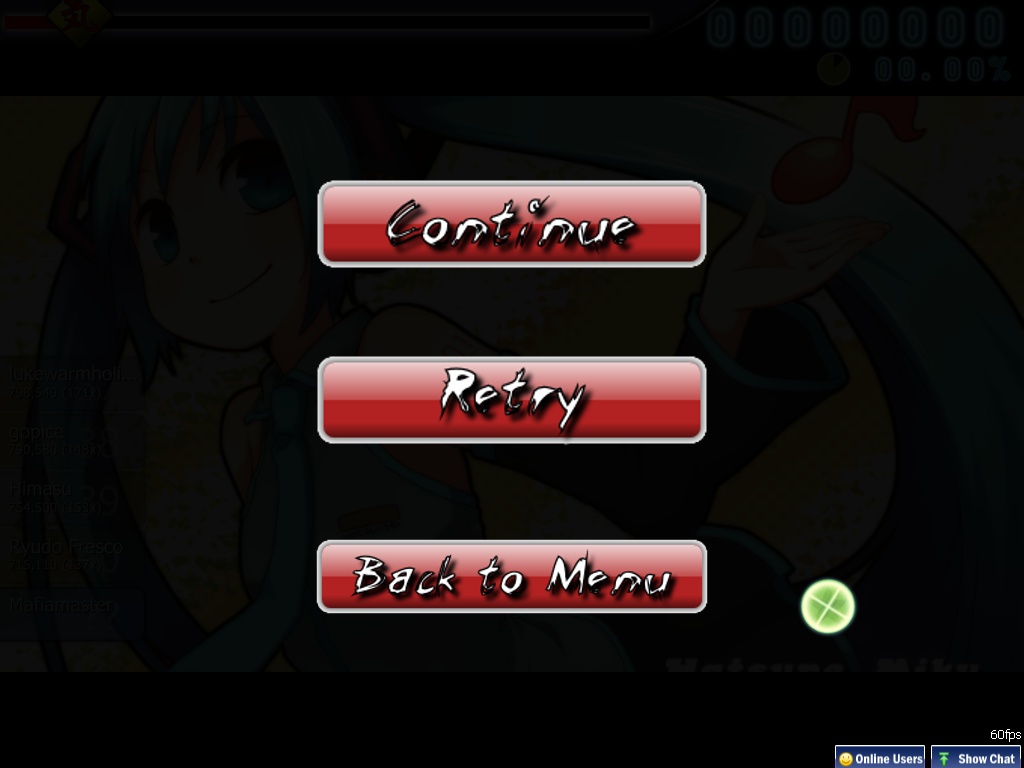
This is the latest version with pause menu buttons added.
I don't expect anyone to download this since it has some stray pictures that aren't used. I'm uploading this from the laptop so I can download on my desktop later.
Sorry it doesn't have to do anything with the anime, amirite
First I duplicate the layer. Then when I right click the new layer, I don't see anything that says "Rasterize Layer", the closest thing I see is "Rasterize Type". It is then that I use "Convert to smart object", afterwards when I right click it, I see Rasterize Layer. Which seems fine.
Then I right click on the preview picture of the copied layer, but I don't see "Select Layer Transparency"
From right clicking on the preview picture
From right clicking just on the name

Therefore when I click Select, "Modify" is grayed out
Orrrr, to make things easier, you could possibly post an SS, S, A, B, C, D in a type of red for the small ranking letters.
And another S and SS in a choice of your color for the hidden mod rankings.
Sorry it doesn't have to do anything with the anime, amirite
I tried to do this but the parts that are in bold, I am having trouble with this.Nya-Chan wrote:
To duplicate the same effects, use any "Blippo" font (I tested using "Blippo Blk BT", type in you number or letter.
-Duplicate the layer.
-Right click the new layer, and click "Rasterize Layer"
-Right click the preview image of the layer, click "Select Layer Transparency"
-Go to Select-->Modify-->Contract. Put in 4-6 for the amount. Hit enter, and the selection will shrink.
-Press delete.
-Double click on the layer or open up Layer Style.
-Drop Shadow: Opacity = 75, Angle =120, Distance = 6, Spread = 0, Size = 2.
-Outer Glow: Blend Mode = Screen, Opacity = 75, Noise = 0, Glow color = 23D3FF, Technique = Softer, Spread = 12, Size = 7
-Inner Glow: Blend Mode = Normal, Opacity = 78, Noise = 0, Glow Color = 23D3FF, Technique = Softer, Source = Edge, Spread = 11, Size = 3
First I duplicate the layer. Then when I right click the new layer, I don't see anything that says "Rasterize Layer", the closest thing I see is "Rasterize Type". It is then that I use "Convert to smart object", afterwards when I right click it, I see Rasterize Layer. Which seems fine.
Then I right click on the preview picture of the copied layer, but I don't see "Select Layer Transparency"
From right clicking on the preview picture
From right clicking just on the name
Therefore when I click Select, "Modify" is grayed out
Orrrr, to make things easier, you could possibly post an SS, S, A, B, C, D in a type of red for the small ranking letters.
And another S and SS in a choice of your color for the hidden mod rankings.
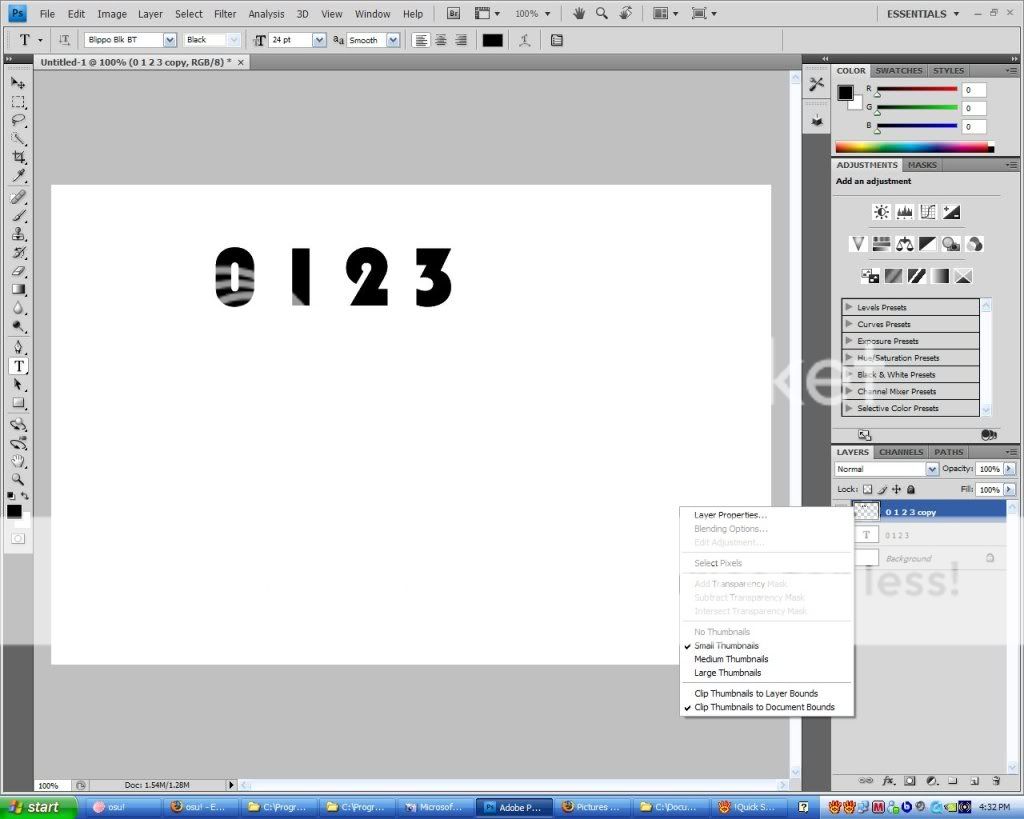
Rasterize Type is the same thing (It turns it into a pixel object rather then text).
Looks like they reworded "Select Layer Transparency" to "Select Pixels", click that. It should do the same (If there are those marching ants around the numbers, yup, that's what you want).
*sighs* Does Adobe need to reword everything with new versions? Geez.
Also, Nice font on those buttons. Though maybe instead of them being buttons... *thinks* Hm, maybe get a picture of an amplifier and have it coming out of that? Buttons just seem kinda plain.
Topic Starter
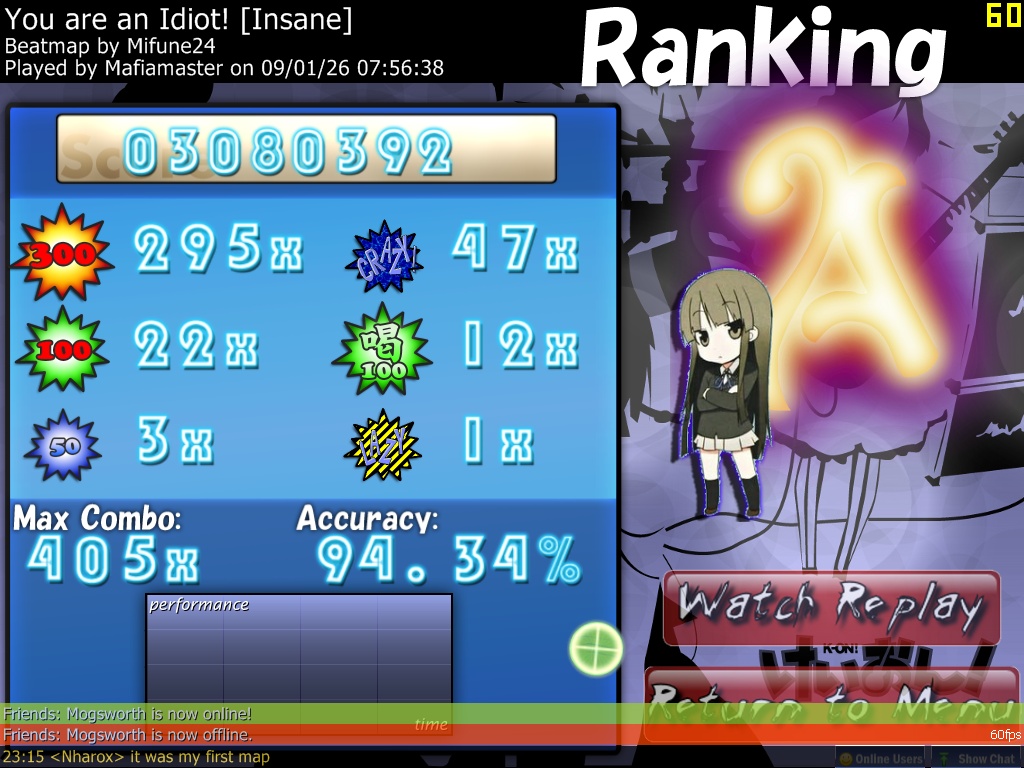
Going by your steps to get that same effect I got...

Where's the whiteness? xD
Also I'm guessing this is how people edit their pictures (No white dots/halo or anything surrounding the picture)
That is really awesome!
This method can be done with pictures, right?
Edit: Ehh?
Am I suppose to be magnifying the lens to delete the white halo by hand around the character?
Or is there another way of doing this...
The Refine Edge option in CS4 doesn't seem to be working.
Would using the Blurring tool around the edges help?
Also the button idea is a VERY GOOD idea, I'll try and do that somehow whenever I find some anime-ish instruments/speakers/amplifiers.
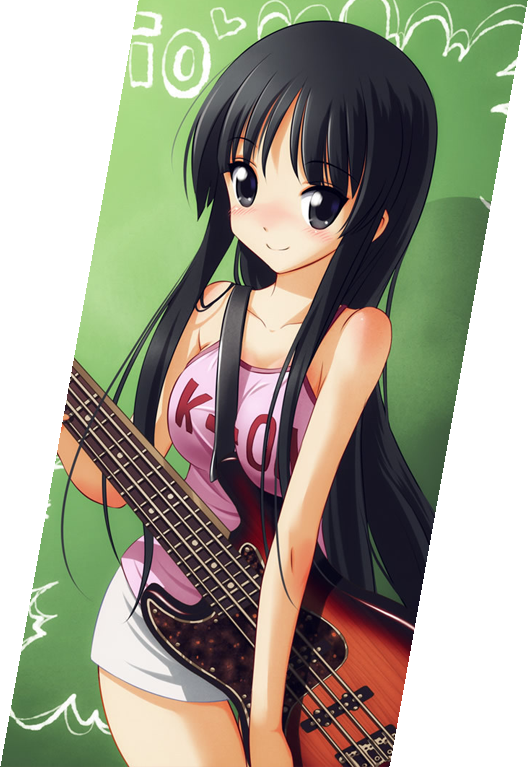
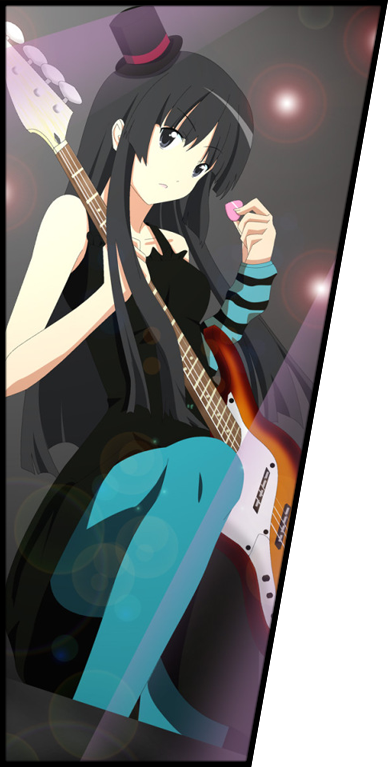
For a spinner, I'm thinking the promotional image for the K-On anime that has Yui holding the guitar, and have the guitar as a spinner. Can't find a decent picture, though. Episode 2's subbed, though, so I might get some ideas from there.
Either make the text white when you type it in, or create a new layer, press CTRL+G or go Layer --> Group with Previous (Might have been reworded though xD). Either of those will "group" it with the layer below, making it so that it doesn't go outside of what the layer it's group to. It's kinda hard to explain, but you can change colors of stuff easy like that.
As for removing the white 'halo', it will depend on how the image deals with it, but usually I'll Select Layer Transparency/Select Pixels. Follow that by Right Click on the Canvas --> Select Inverse, then go Select --> Modify --> Expand, 1px. Press delete and it's mostly gone. If most of the black lines are gone, then add layer effects, Stroke, with 1-2 pixels of black (Or whatever color looks best).
Or, option number 2: Learn how to use the Pen Tool (it's the one that looks like a quill tip, right above the Text Tool) and trace the whole thing out. It's tedious, but usually (You have to zoom in at like, 300%+, and perfectly outline it) it looks rather good. I only recently stopped bothering it with cause I'm lazy. For most of my stuff I use the Magic Wand tool (looks like a wand xD) and select all the parts I don't want and do the end of option 1 to make it look right. Only when there's too many colors do I use the pen tool.
Topic Starter
Thanks Nya-Chan! That really helped out. Version 1.3 is now out. (I haven't edited some pictures yet)
Things added in v1.3~
followpoint
spinner-circle
New ranking pictures (Big and small ones)
Back button (Hope it's not too small)
play-warningarrow
scorebar-kidanger2
I really need a way to vector (No idea what that is) that spinner circle somehow, or find a bigger picture of that >_>
But before I started making this skin, I noticed something that spinned in the anime and thought that would make a great spinner if I decided to make a skin of it!
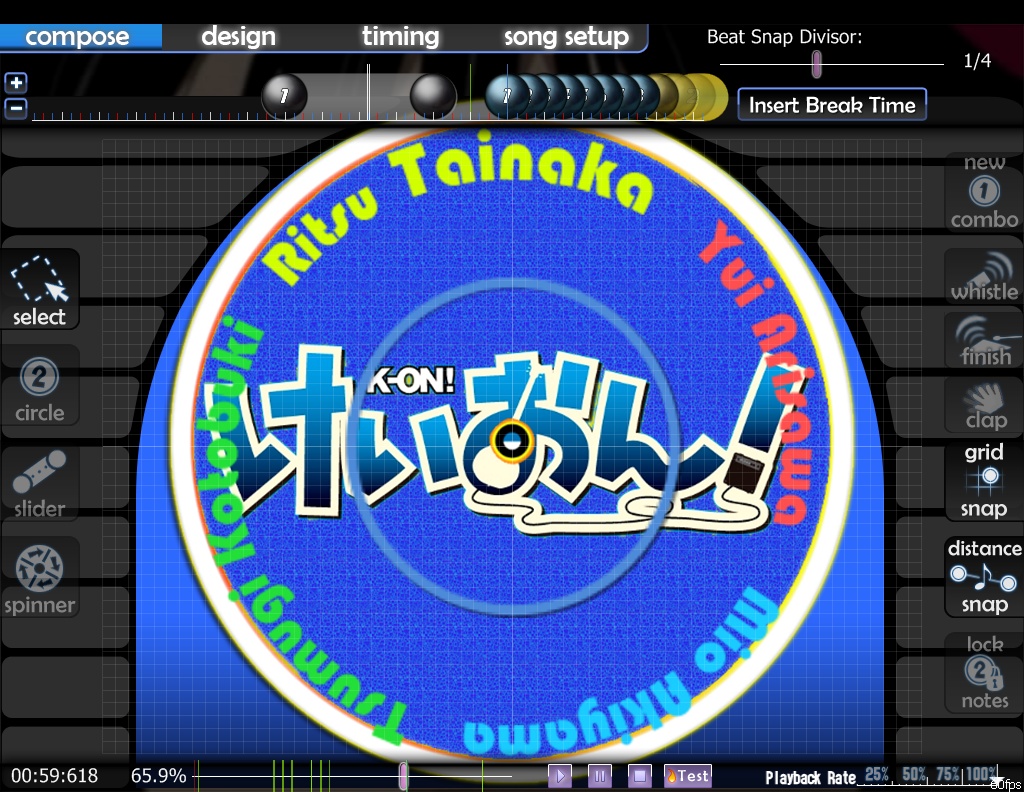
What I was thinking is that somehow I could take the picture that says K-ON! in japanese (I think) and make that the spinner background, while having the circle thing with the names as the spinner. (Since the title itself in the anime, kinda spins, right?)
As for the pause buttons that Nya-Chan suggested: Bleh, I'm having a hard time finding a good picture of a amplifier/speaker.
Edit: Ok, maybe bad idea about the spinner being somewhat... yellow. Can't really see the cursor during gameplay when a spinner pops up. Maybe it'll be better to get a different cursor color. So spinner changed to it's original blurry self. (Heck! It's way better than the yellowness.)
Things added in v1.3~
followpoint
spinner-circle
New ranking pictures (Big and small ones)
Back button (Hope it's not too small)
play-warningarrow
scorebar-kidanger2
I really need a way to vector (No idea what that is) that spinner circle somehow, or find a bigger picture of that >_>
If I was that skilled at skinning, that might've worked somehow.SuzumiyaKyon wrote:
For a spinner, I'm thinking the promotional image for the K-On anime that has Yui holding the guitar, and have the guitar as a spinner. Can't find a decent picture, though. Episode 2's subbed, though, so I might get some ideas from there.
But before I started making this skin, I noticed something that spinned in the anime and thought that would make a great spinner if I decided to make a skin of it!
What I was thinking is that somehow I could take the picture that says K-ON! in japanese (I think) and make that the spinner background, while having the circle thing with the names as the spinner. (Since the title itself in the anime, kinda spins, right?)
As for the pause buttons that Nya-Chan suggested: Bleh, I'm having a hard time finding a good picture of a amplifier/speaker.
Edit: Ok, maybe bad idea about the spinner being somewhat... yellow. Can't really see the cursor during gameplay when a spinner pops up. Maybe it'll be better to get a different cursor color. So spinner changed to it's original blurry self. (Heck! It's way better than the yellowness.)
Vielen Dank!Das ist TOLL!
By the way, for the spinner, going with your idea of names in a circle, try this:
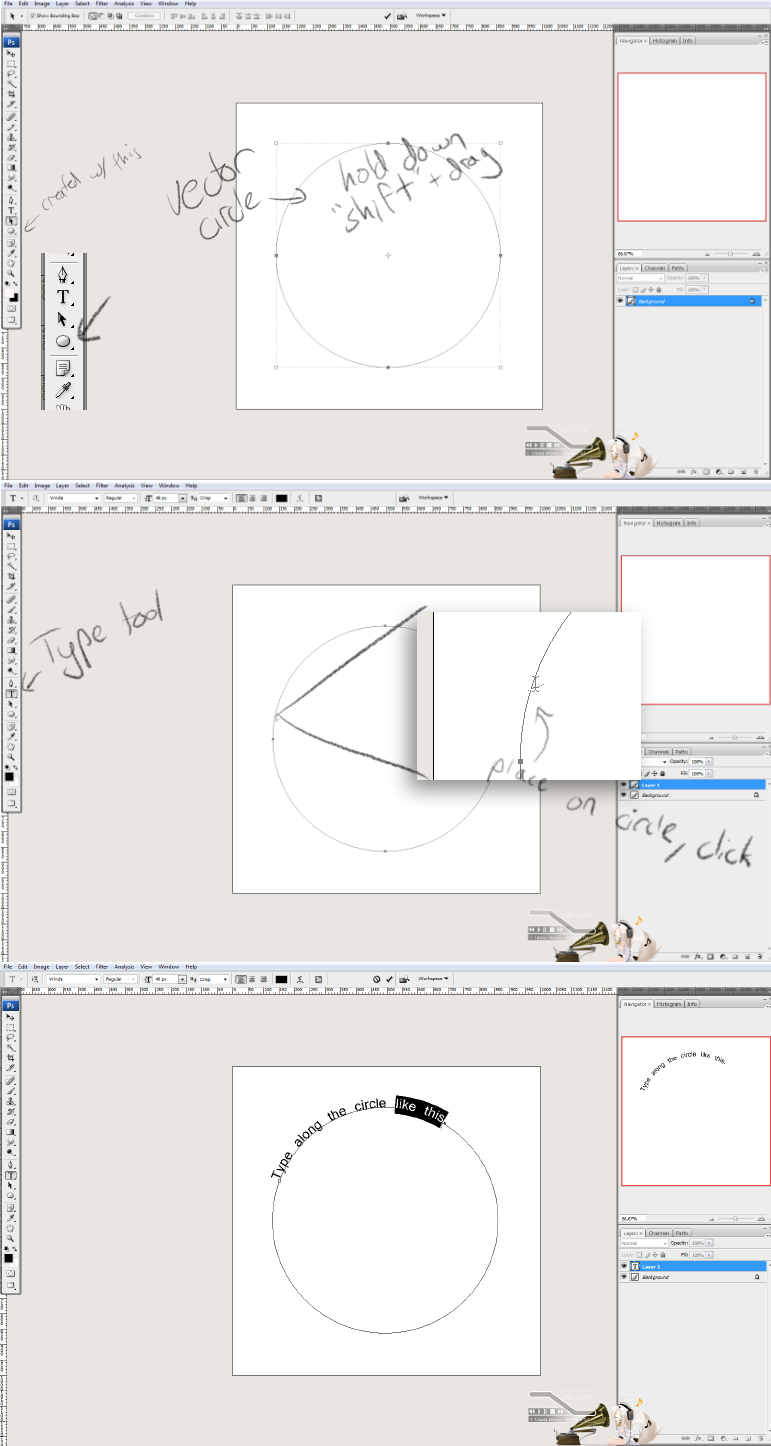
On the topic of vectors, let me explain...
A vector is a line drawn by the computer based on a mathematical formula. Since it's based on a formula, the image can then be re-sized to any dimentions, while still retaining quality. A raster image, by contrast, is set in stone by the pixels, and, when you re-size a raster image, the program must guess where to place pixels to match the new size.
You're talking about "vectoring" an image, which can be done in Photoshop via the Pen tool and "fill" (right click> fill...).
Bind "fill..." to a keystroke via "Ctrl+alt+shift+k" (Keyboard Shortcuts and Menus) if you're going to vector an image, since you'll be using the fill command quite a bit. Furthermore, I would suggest a new layer for each color, as opposed to a new layer for each shape. But that's just my personal preference. :/
Lastly, if you're not already aware of it, Safebooru (Or Danbooru/Gelbooru, for that matter, but they have NSFW stuff) is a great place for finding anime stuff.
http://safebooru.donmai.us
Lastly, for the score circles:
I was thinking something on the lines of this...
You get the idea, right? :3
Topic Starter
@Daru~
Ok, I'll try again on the spinner.
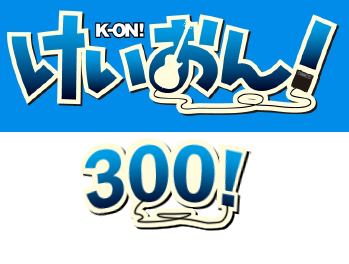
I am very amazed as how you made that 300!
How did you make that? @_@
Is the top picture in the attachment suppose to be the background picture for the spinner? Or what would this be used for?
The bottom picture explains itself. Want to make a 100 and 50 out of that also?:D lol
____
@dieter1989
Glad you like it
____
Also new spinner background~
Now to make the spinner circle with the character names :3
Ok, I'll try again on the spinner.
I am very amazed as how you made that 300!
How did you make that? @_@
Is the top picture in the attachment suppose to be the background picture for the spinner? Or what would this be used for?
The bottom picture explains itself. Want to make a 100 and 50 out of that also?:D lol
____
@dieter1989
Glad you like it
____
Also new spinner background~
Now to make the spinner circle with the character names :3
I like the skin too, why would I tell you to remove it?Mafiamaster wrote:
Credits go to:
DJPop (For the star2 picture) (A nice looking music note) If you don't want me using it, simply let me know and I'll take it out right away!
I mean, yes , you can.
But imo, make only Mio is so partiality

Topic Starter
Well first of all, I didn't ask which seems kind of rude. But I'm glad I got your "ok"DJPop wrote:
I like the skin too, why would I tell you to remove it?
My interpretation of this sentence~DJPop wrote:
But imo, make only Mio is so partiality
This has something to do with the comboburst, right?
Of it being only Mio and all and not the whole gang.
If that's what you mean, I'll figure out how I can get the whole gang in there.
Possibly 4 combobursts which has each character on it. That sounds nice.
Also v1.3b is now out!
v1.3b contains the newest spinner
Back menu button and Skip button
Reason for uploading v1.3b so fast: The spinner in v1.3a was bad and for people using the skin, I didn't want their gameplay messed up due to the hidden cursor when the spinner is going.
Here are the numbers:

And the original .psd:
Download: PSD.zip
The top picture was supposed to just be a reference. :p
Though, I've included a higher-res logo here so use that, instead. (I hate compression/resize artifacts. )
)
Also, I've oversized the numbers since I like to work big, so resize them as you see fit.
And the original .psd:
Download: PSD.zip
The top picture was supposed to just be a reference. :p
Though, I've included a higher-res logo here so use that, instead. (I hate compression/resize artifacts.
Also, I've oversized the numbers since I like to work big, so resize them as you see fit.
Topic Starter
You are amazing 
Topic Starter
Hehe, that looks awesome. I'll upload it in the next version.
This map has been deleted on the request of its creator. It is no longer available.
Hello
i downloaded ur skin yesterday and u didnt make a Countdown so i made one by myself ^^
http://i202.photobucket.com/albums/aa21 ... count1.png
http://i202.photobucket.com/albums/aa21 ... count2.png
http://i202.photobucket.com/albums/aa21 ... count3.png
http://i202.photobucket.com/albums/aa21 ... Osu/go.png
if u wanna put on the Skin Pack i dont mind
Topic Starter
YOU ARE AWESOME KYU!
Thanks,I'll add it as soon as I can!
Oh, it's done already. ;P
Thank you for taking your time to make it.
Mio is the best, huh.
Thanks,
Oh, it's done already. ;P
Thank you for taking your time to make it.
Mio is the best, huh.
Nice to see some combo bursts, but are you taking your Mio fandom a bit too far? (This coming from a Tsumugi fan? ^_^;) But anyways, back to business. I decided to make a few combo bursts for ya. I tested them out using Lemon Tree (I can't pass it, but auto makes it a great combo burst gallery!) I'll try to think of something for the countdown, but until then, here's these!
Download: SK'sCombobursts.rar
Download: SK'sCombobursts.rar
Topic Starter
Ah yes! Combobursts that take up half the screen when they pop. I like those more than the ones currently in the skin. Thank you for the combobursts! I'll add them in the next version!
But please, don't try too hard on the countdown. I don't want to overwrite what Kyu has done in his free time. Unless it somewhat happens to be better.
Know what I mean?
But please, don't try too hard on the countdown. I don't want to overwrite what Kyu has done in his free time. Unless it somewhat happens to be better.
Know what I mean?
This map has been deleted on the request of its creator. It is no longer available.
Topic Starter
Hehe, I see what you mean. If you really want to, you can make a new count3.png
I'll be looking forward for the Are You Ready? picture!
Thank you for all your hard work as well!!
I'll be looking forward for the Are You Ready? picture!
Thank you for all your hard work as well!!
Topic Starter
It looks good but to be honest, I didn't really want borders around the circles (hitcircleoverlay)
What I did do a while back was made the hitcircle more sharper. I just haven't uploaded it yet. (Download the picture and replace if you've been using the skin)
But this is definitely up to the people. If I get maybe like 50 more people who'd rather want a border around the circle, then I'll consider changing it.
This map has been deleted on the request of its creator. It is no longer available.

Topic Starter
This map has been deleted on the request of its creator. It is no longer available.
Topic Starter
Thanks Ryuukun! Lol
my osu says that the file is corrupted plss help