I've got an Arduino Uno (A clone) that i bought a while back for something that didn't work, will that work?
forum
Osu! Keyboard Recipe - For the DIY Minded
posted
Total Posts
95
Topic Starter
I'm not very knowledgeable about this; I've only confirmed this build with the build I have.
If your AVR chip has USB support built-in (ATmega with U - like ATmega32U4 on the Leonardo and Micro) -definitely has support and will work-, or has a built-in USB to serial converter (like the Uno, and Mega 2560), theoretically it should work though you'd have to dig online for actual references.
If not, you'd have to either use a USB to serial converter (like USB to FTDI serial cables) or emulate USB via V-USB, which I have not tried yet. Adafruit Trinkets are nice candidates for V-USB.
As for ARM-based chips, I've only tried using a Teensy, which already has built-in support.
Topic Starter
Sanwa switch build people!!!!

Also this is what happens when you don't account for cable spacing... A wasted breadboard.

Some demos:
A hard drive case is actually a pretty solid choice for an arcade-style build.
Also this is what happens when you don't account for cable spacing... A wasted breadboard.
Some demos:
A hard drive case is actually a pretty solid choice for an arcade-style build.
didn't expect to find such project here. I used to work on Arduino projects and I can get the most of the stuff, but I don't know where to get Cherry MX switches. Maybe I'll try it once I get them since it looks interesting.
Topic Starter
Works on any regular push button switch. The lovely Sanwa keypad is right above youiman mutou wrote:
didn't expect to find such project here. I used to work on Arduino projects and I can get the most of the stuff, but I don't know where to get Cherry MX switches. Maybe I'll try it once I get them since it looks interesting.

If not, Digikey or any other mechanical keyboard website like WASD or MechKB should have them in stock.
Better yet, check if Cherry themselves carry it in bulk.
OP has been helping me out and i'm currently in the process of building my own, thanks Senpai. o3o
I've been looking at a lot of these osu! keyboards lately. thnikk's keypads are very nice, as well as the one on the osu! store.
I do a lot of keyboards built from parts and this is nothing completely new to me, but its the first time I will be hand-wiring switches.
I'm just gonna use the arduino nano clone from dx, and a custom cnc cut acrylic housing.
What I will add to the previous designs is a palmrest. I'll come up with some more designs in the future.
Switches will be custom lubed 55g vintage cherry mx blacks. my all-time fave
Topic Starter
Dayum, looking forward to that thendongwon900 wrote:
I've been looking at a lot of these osu! keyboards lately. thnikk's keypads are very nice, as well as the one on the osu! store.
I do a lot of keyboards built from parts and this is nothing completely new to me, but its the first time I will be hand-wiring switches.
I'm just gonna use the arduino nano clone from dx, and a custom cnc cut acrylic housing.
What I will add to the previous designs is a palmrest. I'll come up with some more designs in the future.
Switches will be custom lubed 55g vintage cherry mx blacks. my all-time fave
I only handwire in my build since I'm too broke for custom PCBs unlike noodlefighter and Antcenter xd
I will probably try to make one with a pro micro, Kailh Speed Copper switches and a case I have laying around. Maybe I will post some pictures then 
Topic Starter
Will look forward to it.Vodes wrote:
I will probably try to make one with a pro micro, Kailh Speed Copper switches and a case I have laying around. Maybe I will post some pictures then
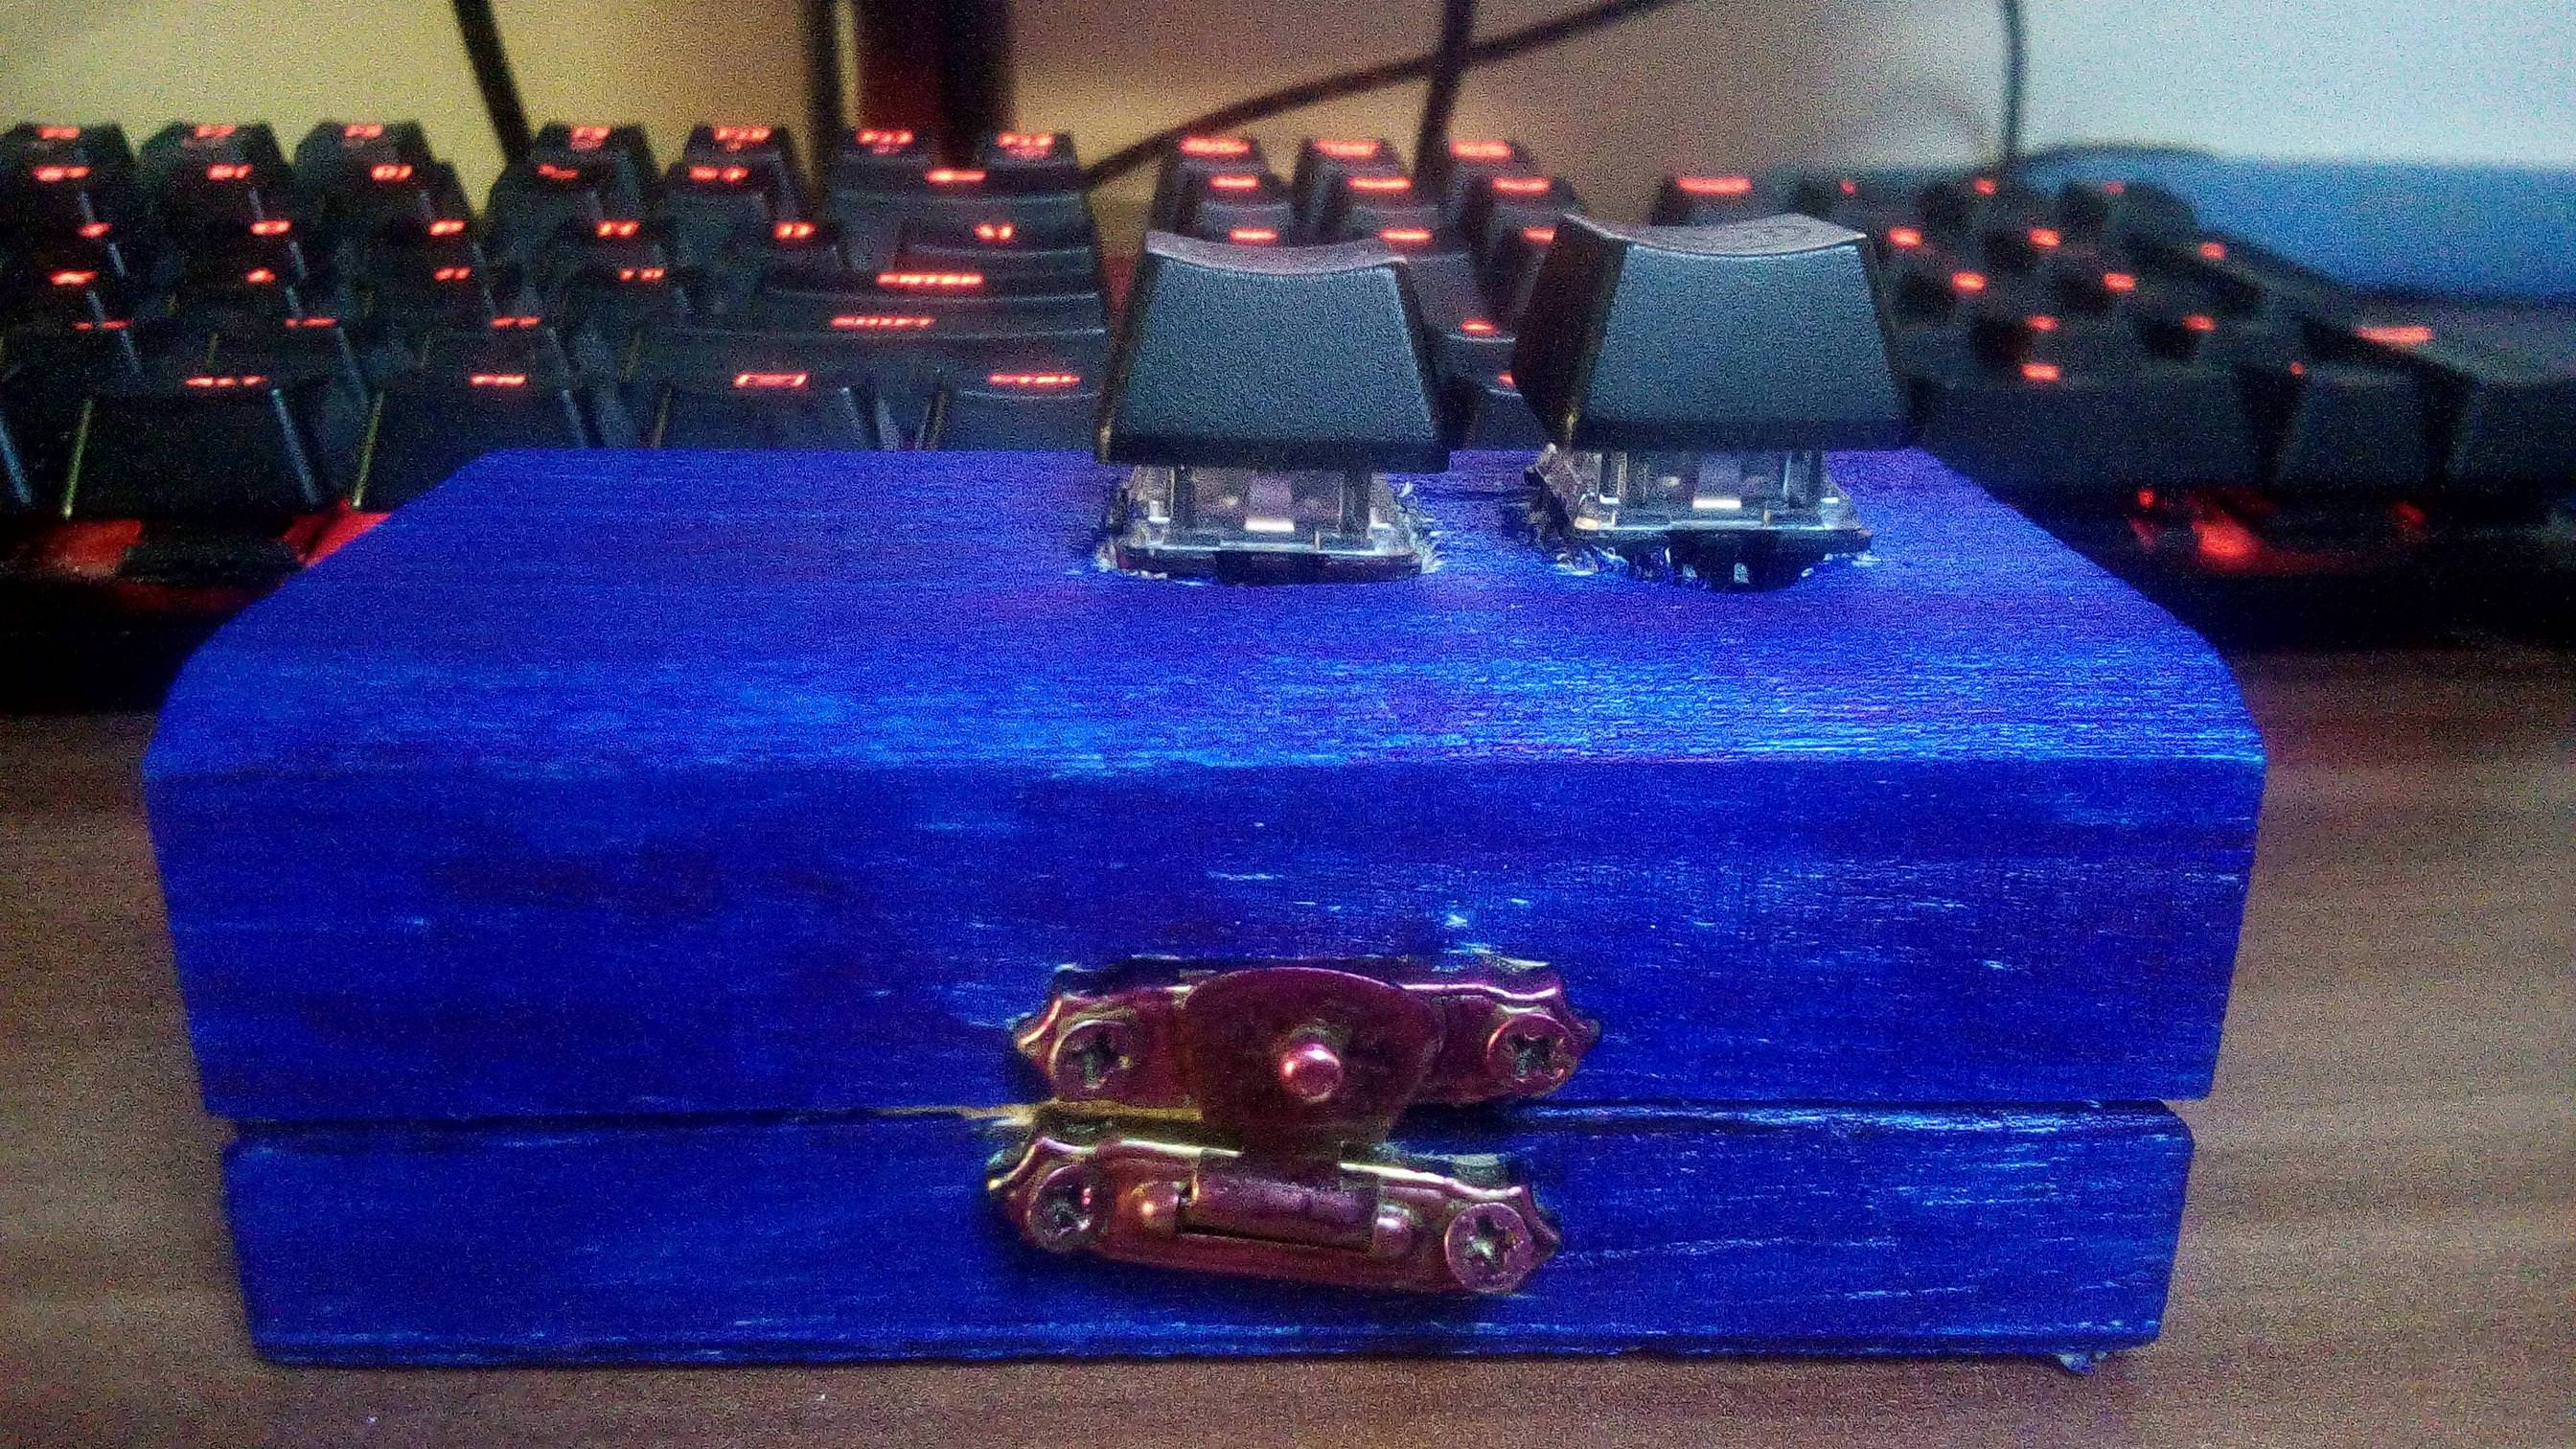
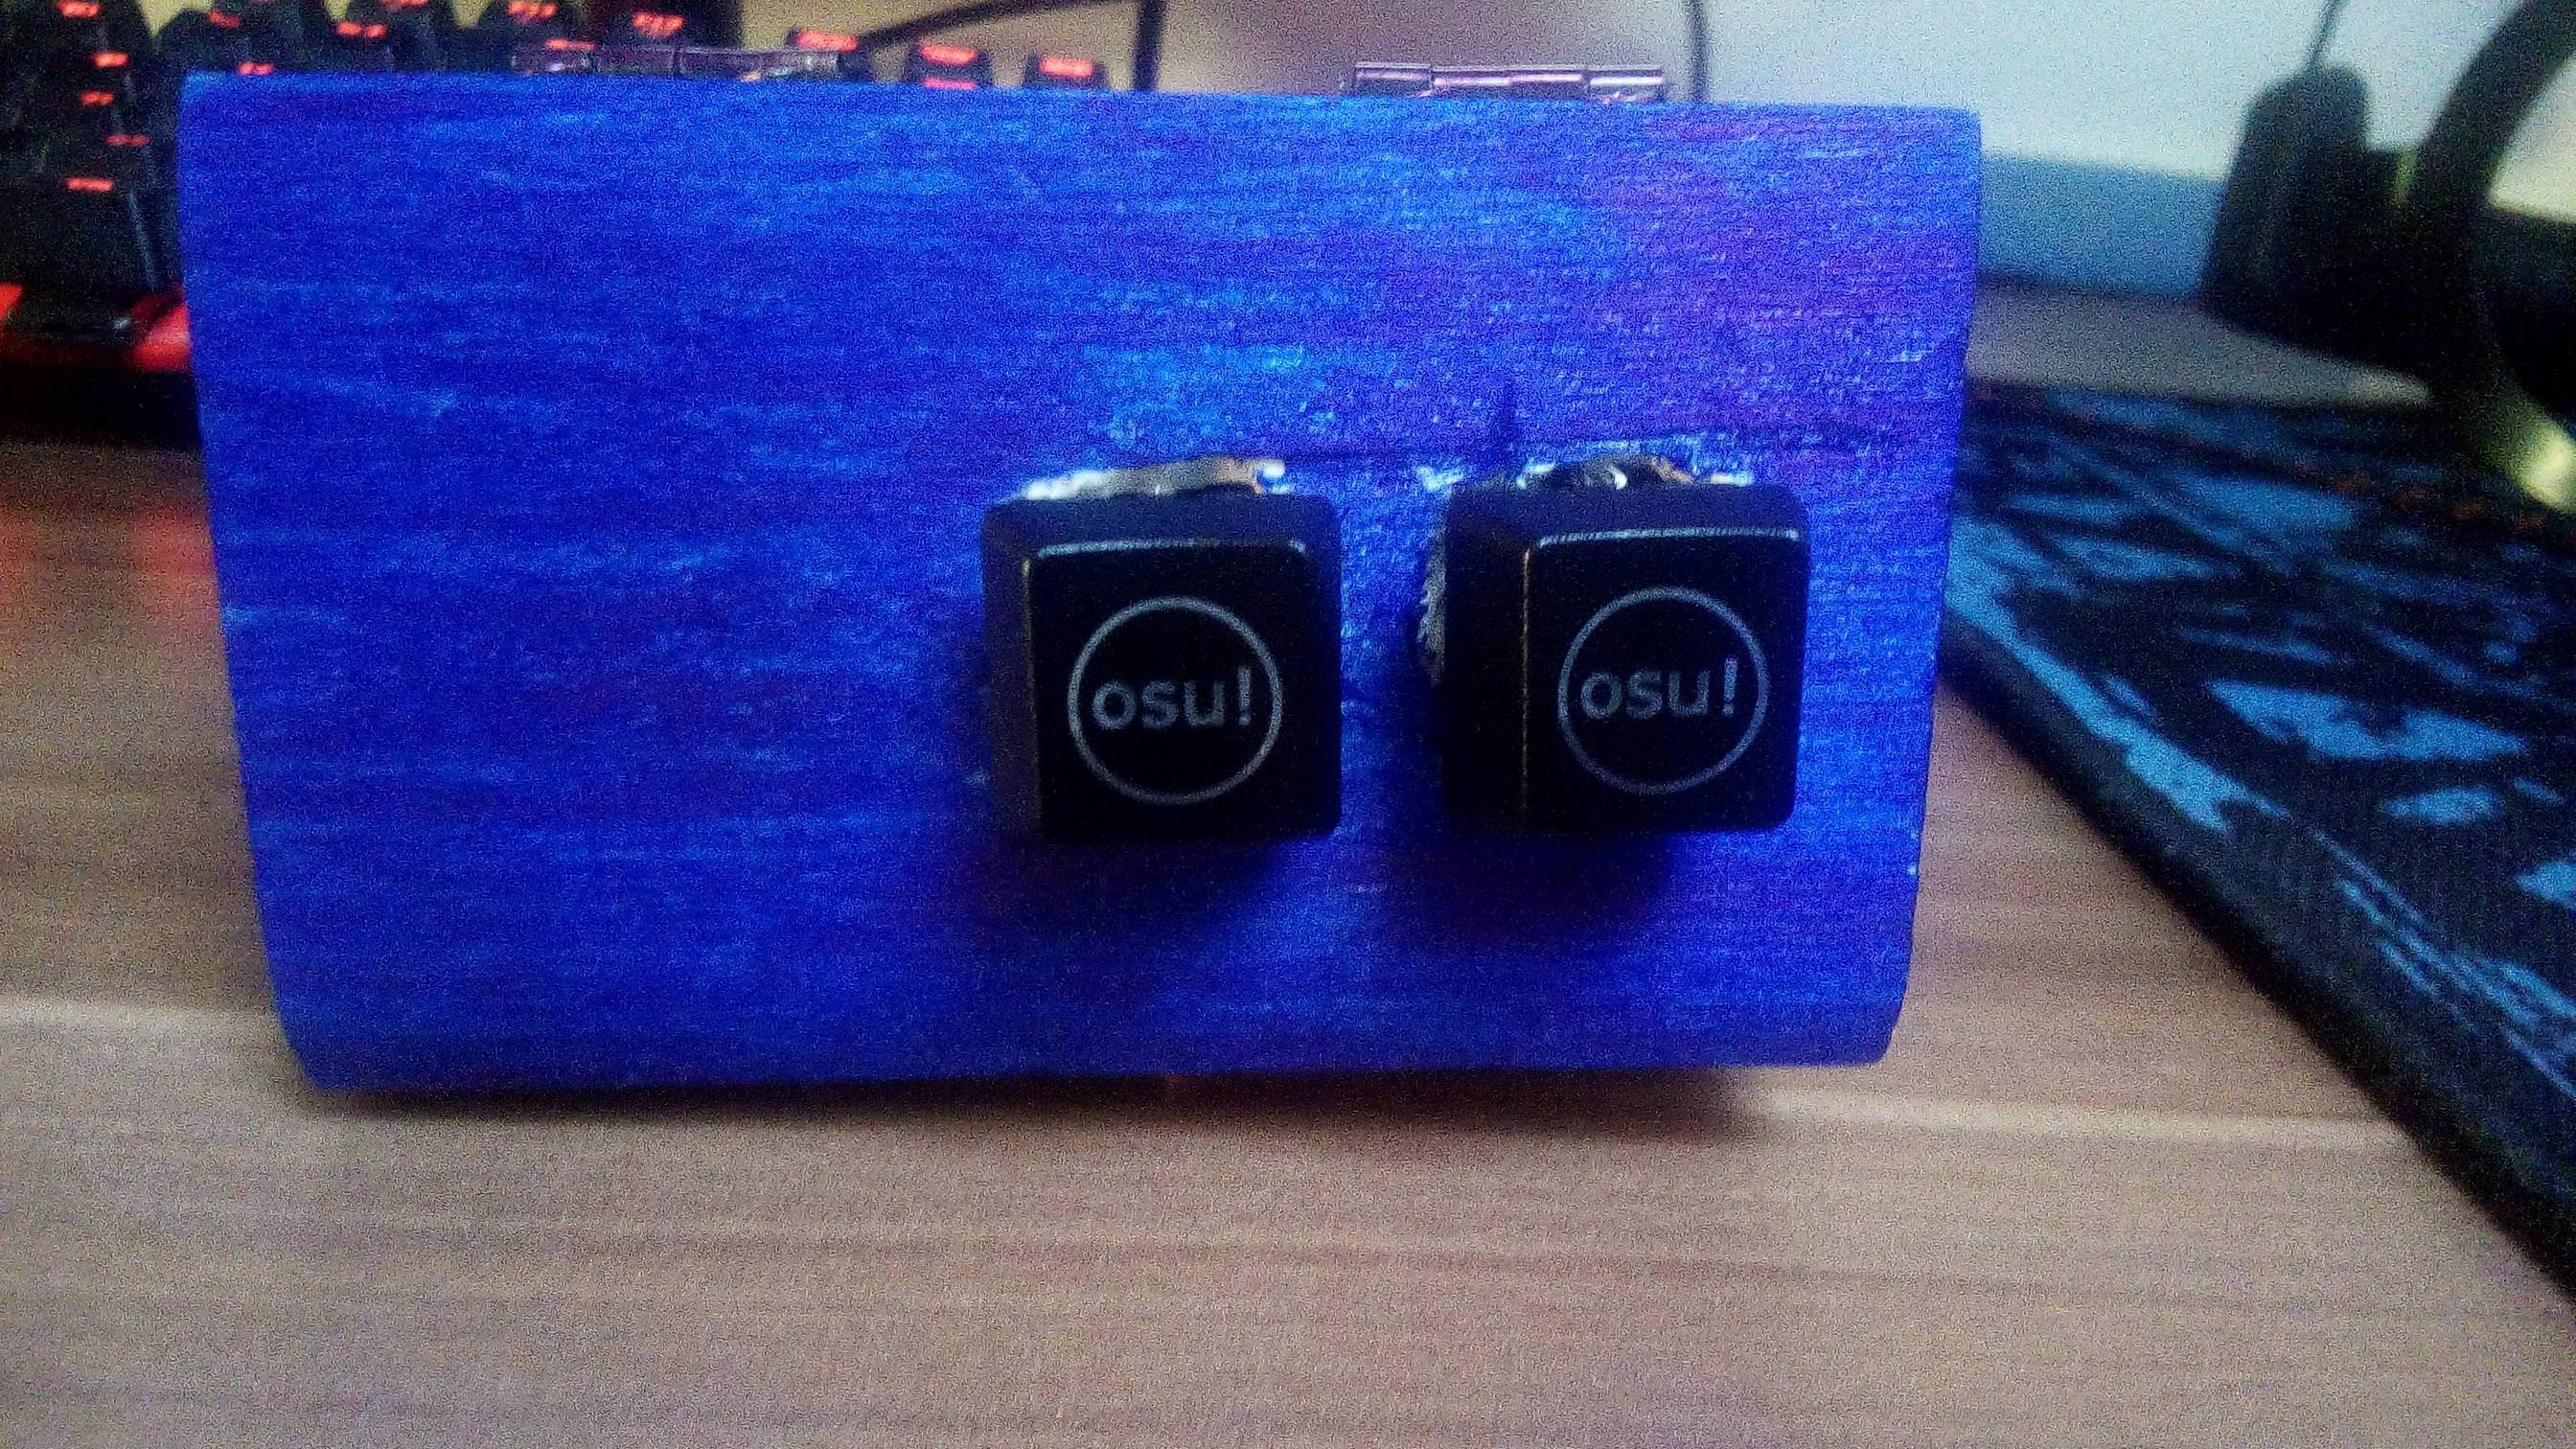
Well. All the stuff came in yesterday morning. So I made a case out of some wood I found in my basement. It was my first time soldering anything. I'm okay with what came out of it xd It's a Pro Micro (5v, 16mhz) I bought from mehkee aswell as the keyswitches (Kailh Speed Copper). The keycaps are some cheap blue ones from banggood.
As for people living in germany shipping was quite fast except for the mehkee stuff. (Almost 2 weeks for that)
As for people living in germany shipping was quite fast except for the mehkee stuff. (Almost 2 weeks for that)
What's better these keypads can be made with almost anything.
I made mine with old pad PCB.
Only soldered switches properly and it works.

Overall cost=2 switches 0.52$
Yes i know it looks like shit, but hey it works.
I made mine with old pad PCB.
Only soldered switches properly and it works.
Overall cost=2 switches 0.52$
Yes i know it looks like shit, but hey it works.
Topic Starter
Good job with the build there. Can't wait to see the demo.Vodes wrote:
Well. All the stuff came in yesterday morning. So I made a case out of some wood I found in my basement. It was my first time soldering anything. I'm okay with what came out of it xd It's a Pro Micro (5v, 16mhz) I bought from mehkee aswell as the keyswitches (Kailh Speed Copper). The keycaps are some cheap blue ones from banggood.
As for people living in germany shipping was quite fast except for the mehkee stuff. (Almost 2 weeks for that)
A friend of mine built an SDVX controller with a shoebox... A cardboard one.Kiciuk wrote:
What's better these keypads can be made with almost anything.
I made mine with old pad PCB.
Only soldered switches properly and it works.
Overall cost=2 switches 0.52$
Yes i know it looks like shit, but hey it works.
He still kicked my ass with it

Waiting for that demo

Here is a bad video for my keyboard
Topic Starter
Don't worry, mine sounds like a toy too. My Sanwa build sounds like hitting a shoebox with a stick.Vodes wrote:
Here is a bad video for my keyboard
Imaginating it is hilarious enough xDThe Gambler wrote:
Don't worry, mine sounds like a toy too. My Sanwa build sounds like hitting a shoebox with a stick.Vodes wrote:
Here is a bad video for my keyboard
Topic Starter
Yes, just remember to select Teensy 2.0 or 2.0++ in the boards sections of the Arduino, assuming you are using Teensyduino.TV-Size Kun wrote:
For Teesy 2.0 and 2.0 ++ this will work?
I know this post is pretty old, but I just want to say thank you for this guide. It helped me a lot!
Topic Starter
Pics or it didn't happenDireDoge wrote:
I know this post is pretty old, but I just want to say thank you for this guide. It helped me a lot!
Also, no problem. Kinda wish this was stickied though.
Topic Starter
New build posted on the first post. Happy holidays everyone!!
Topic Starter
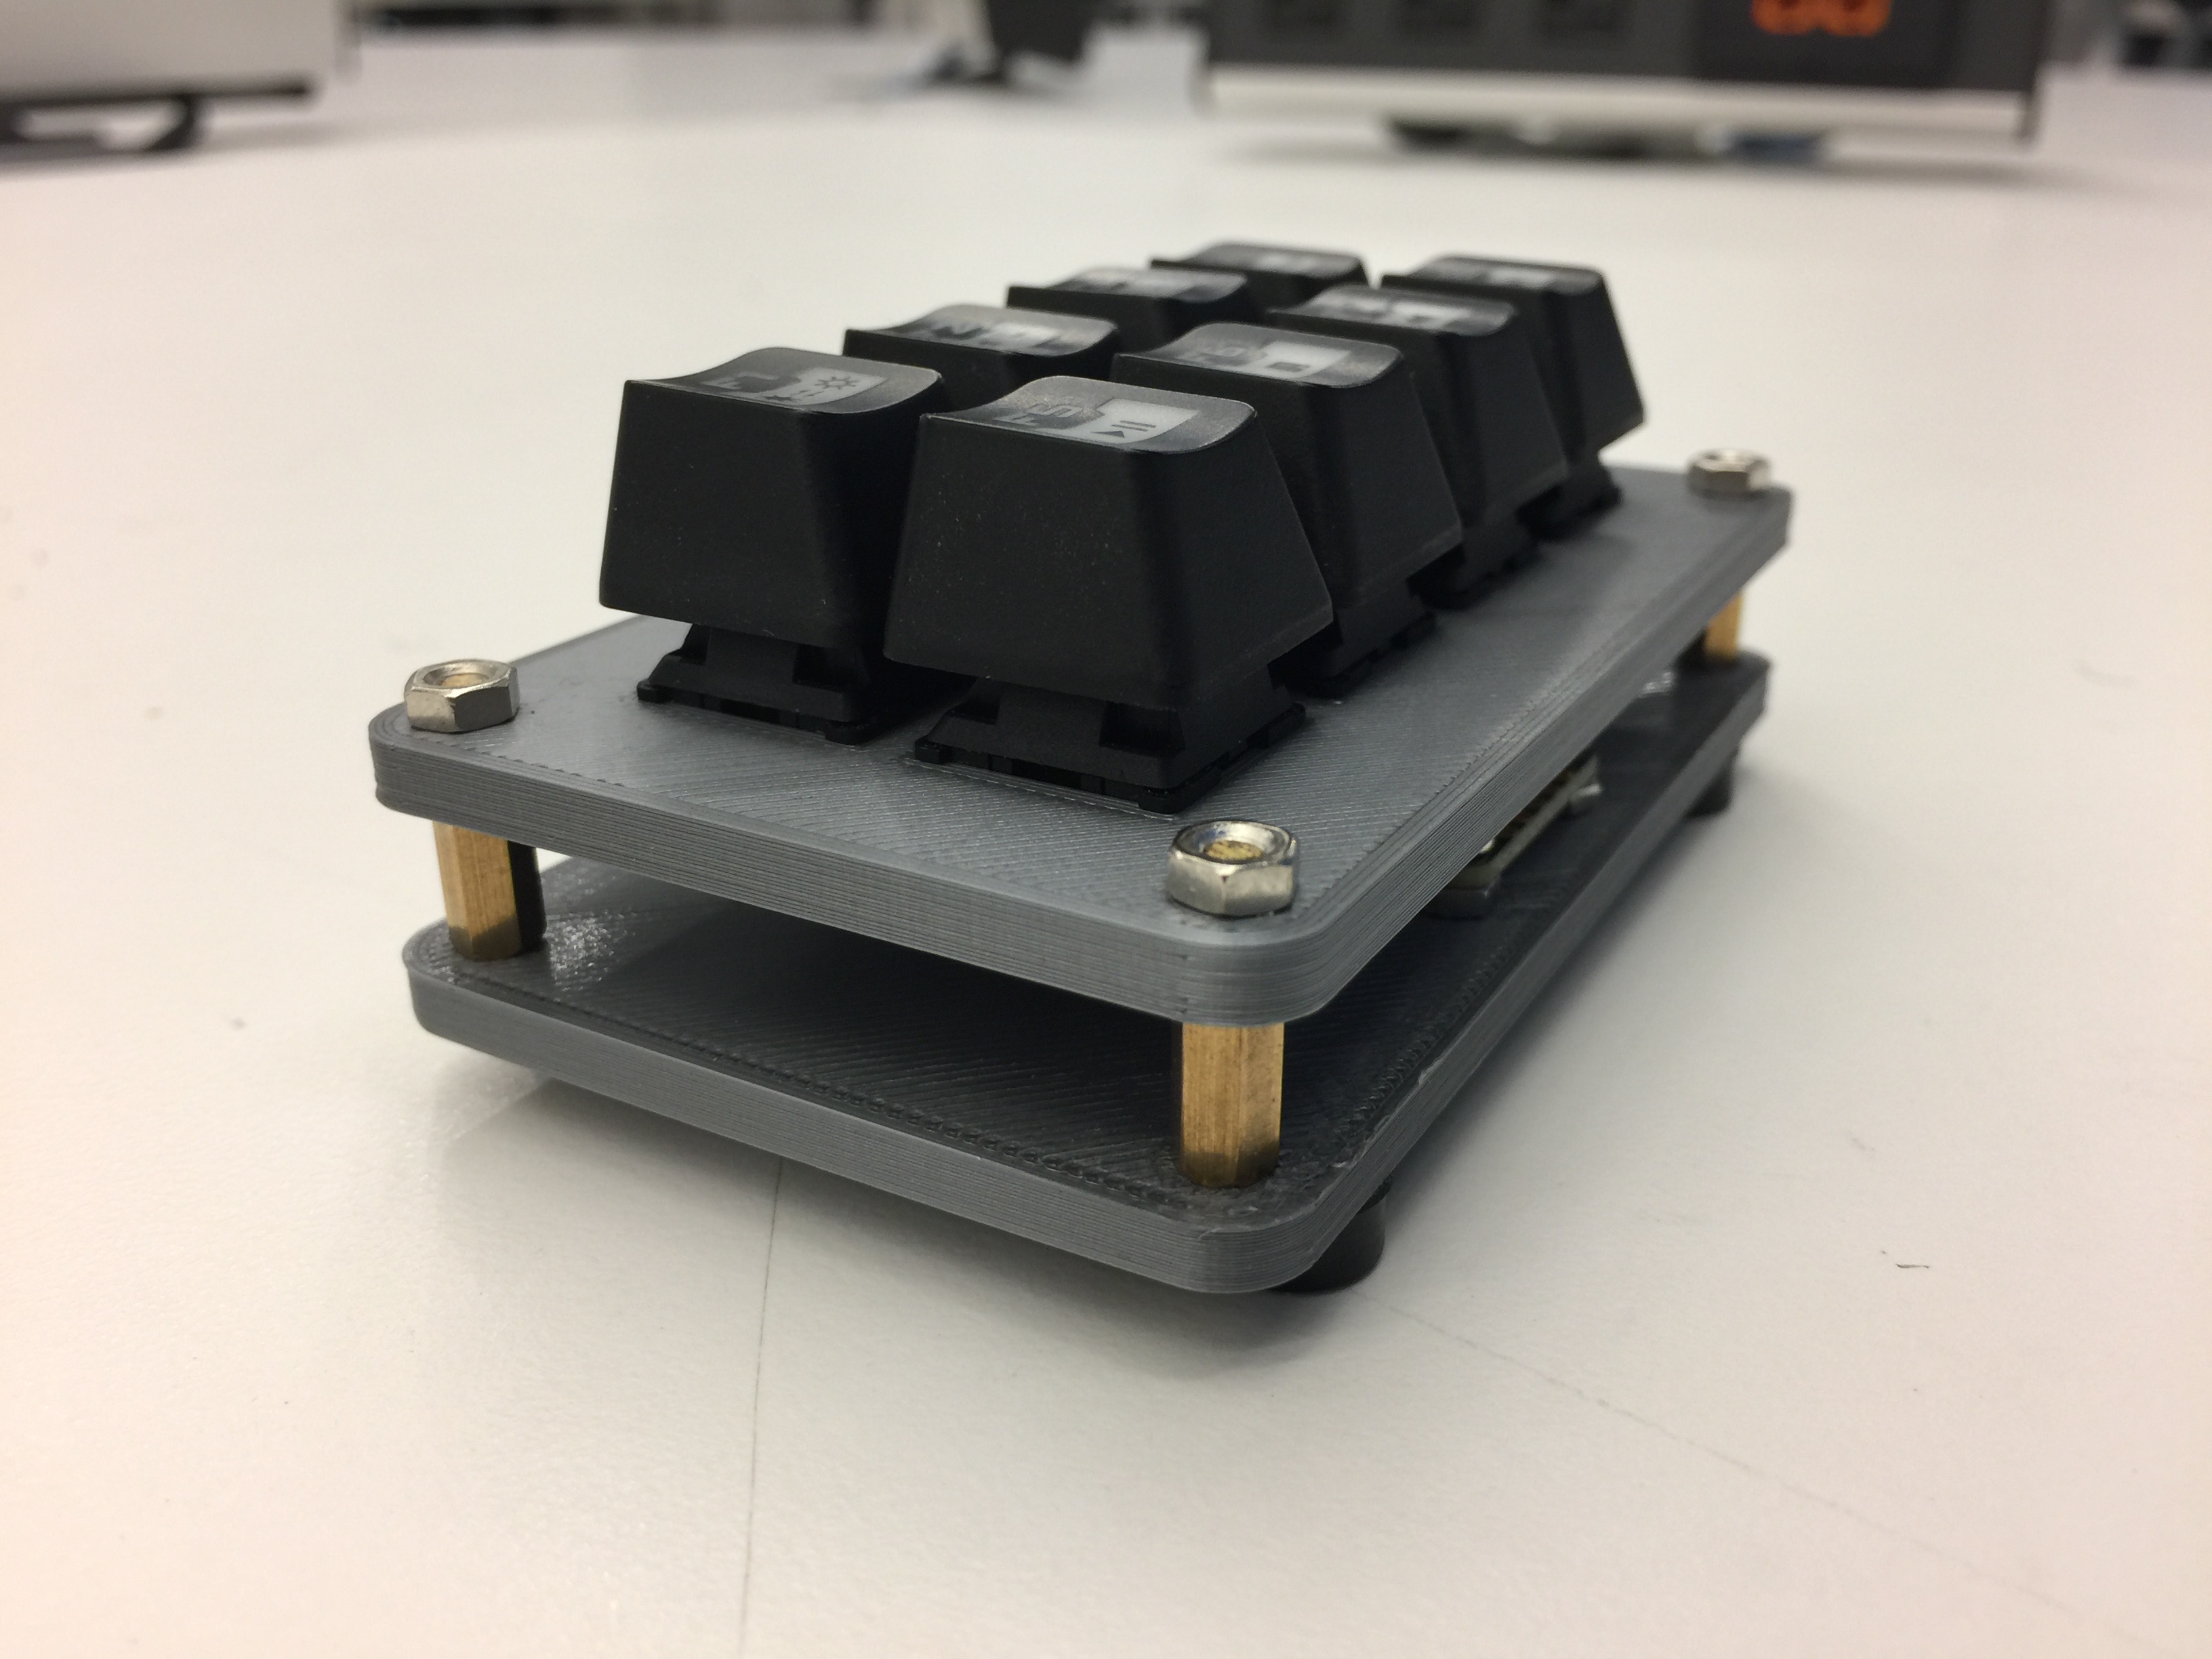
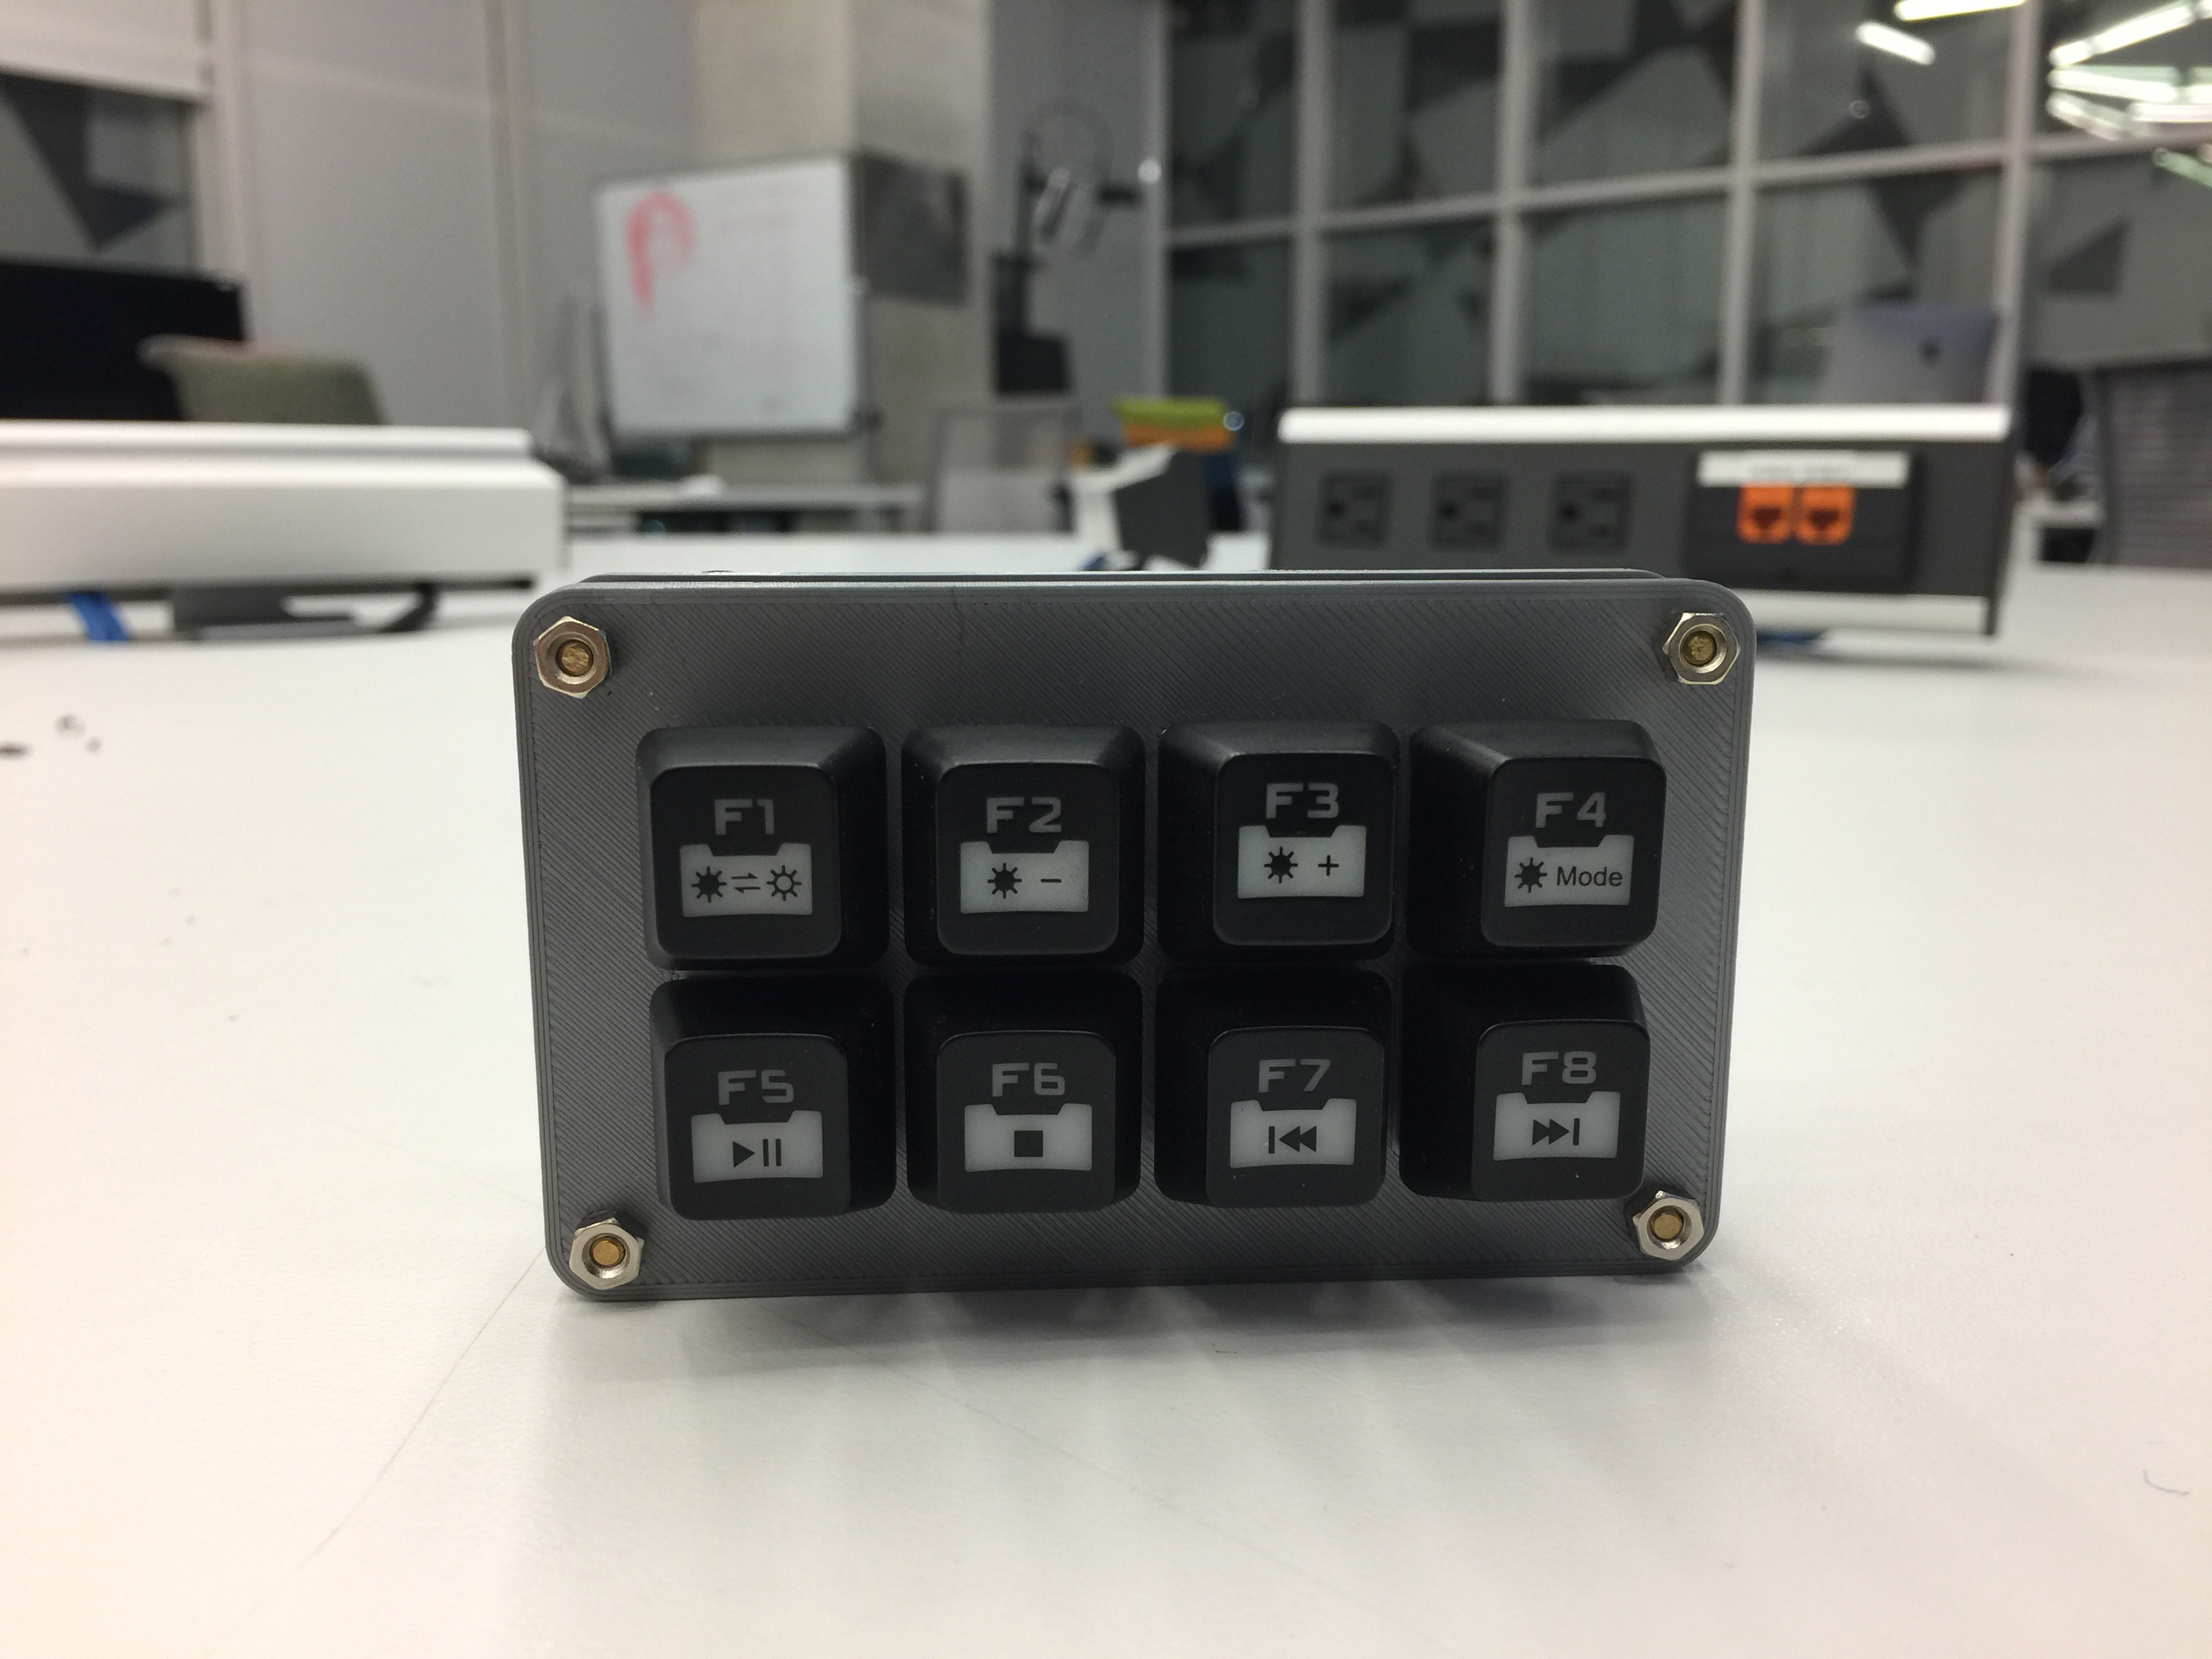
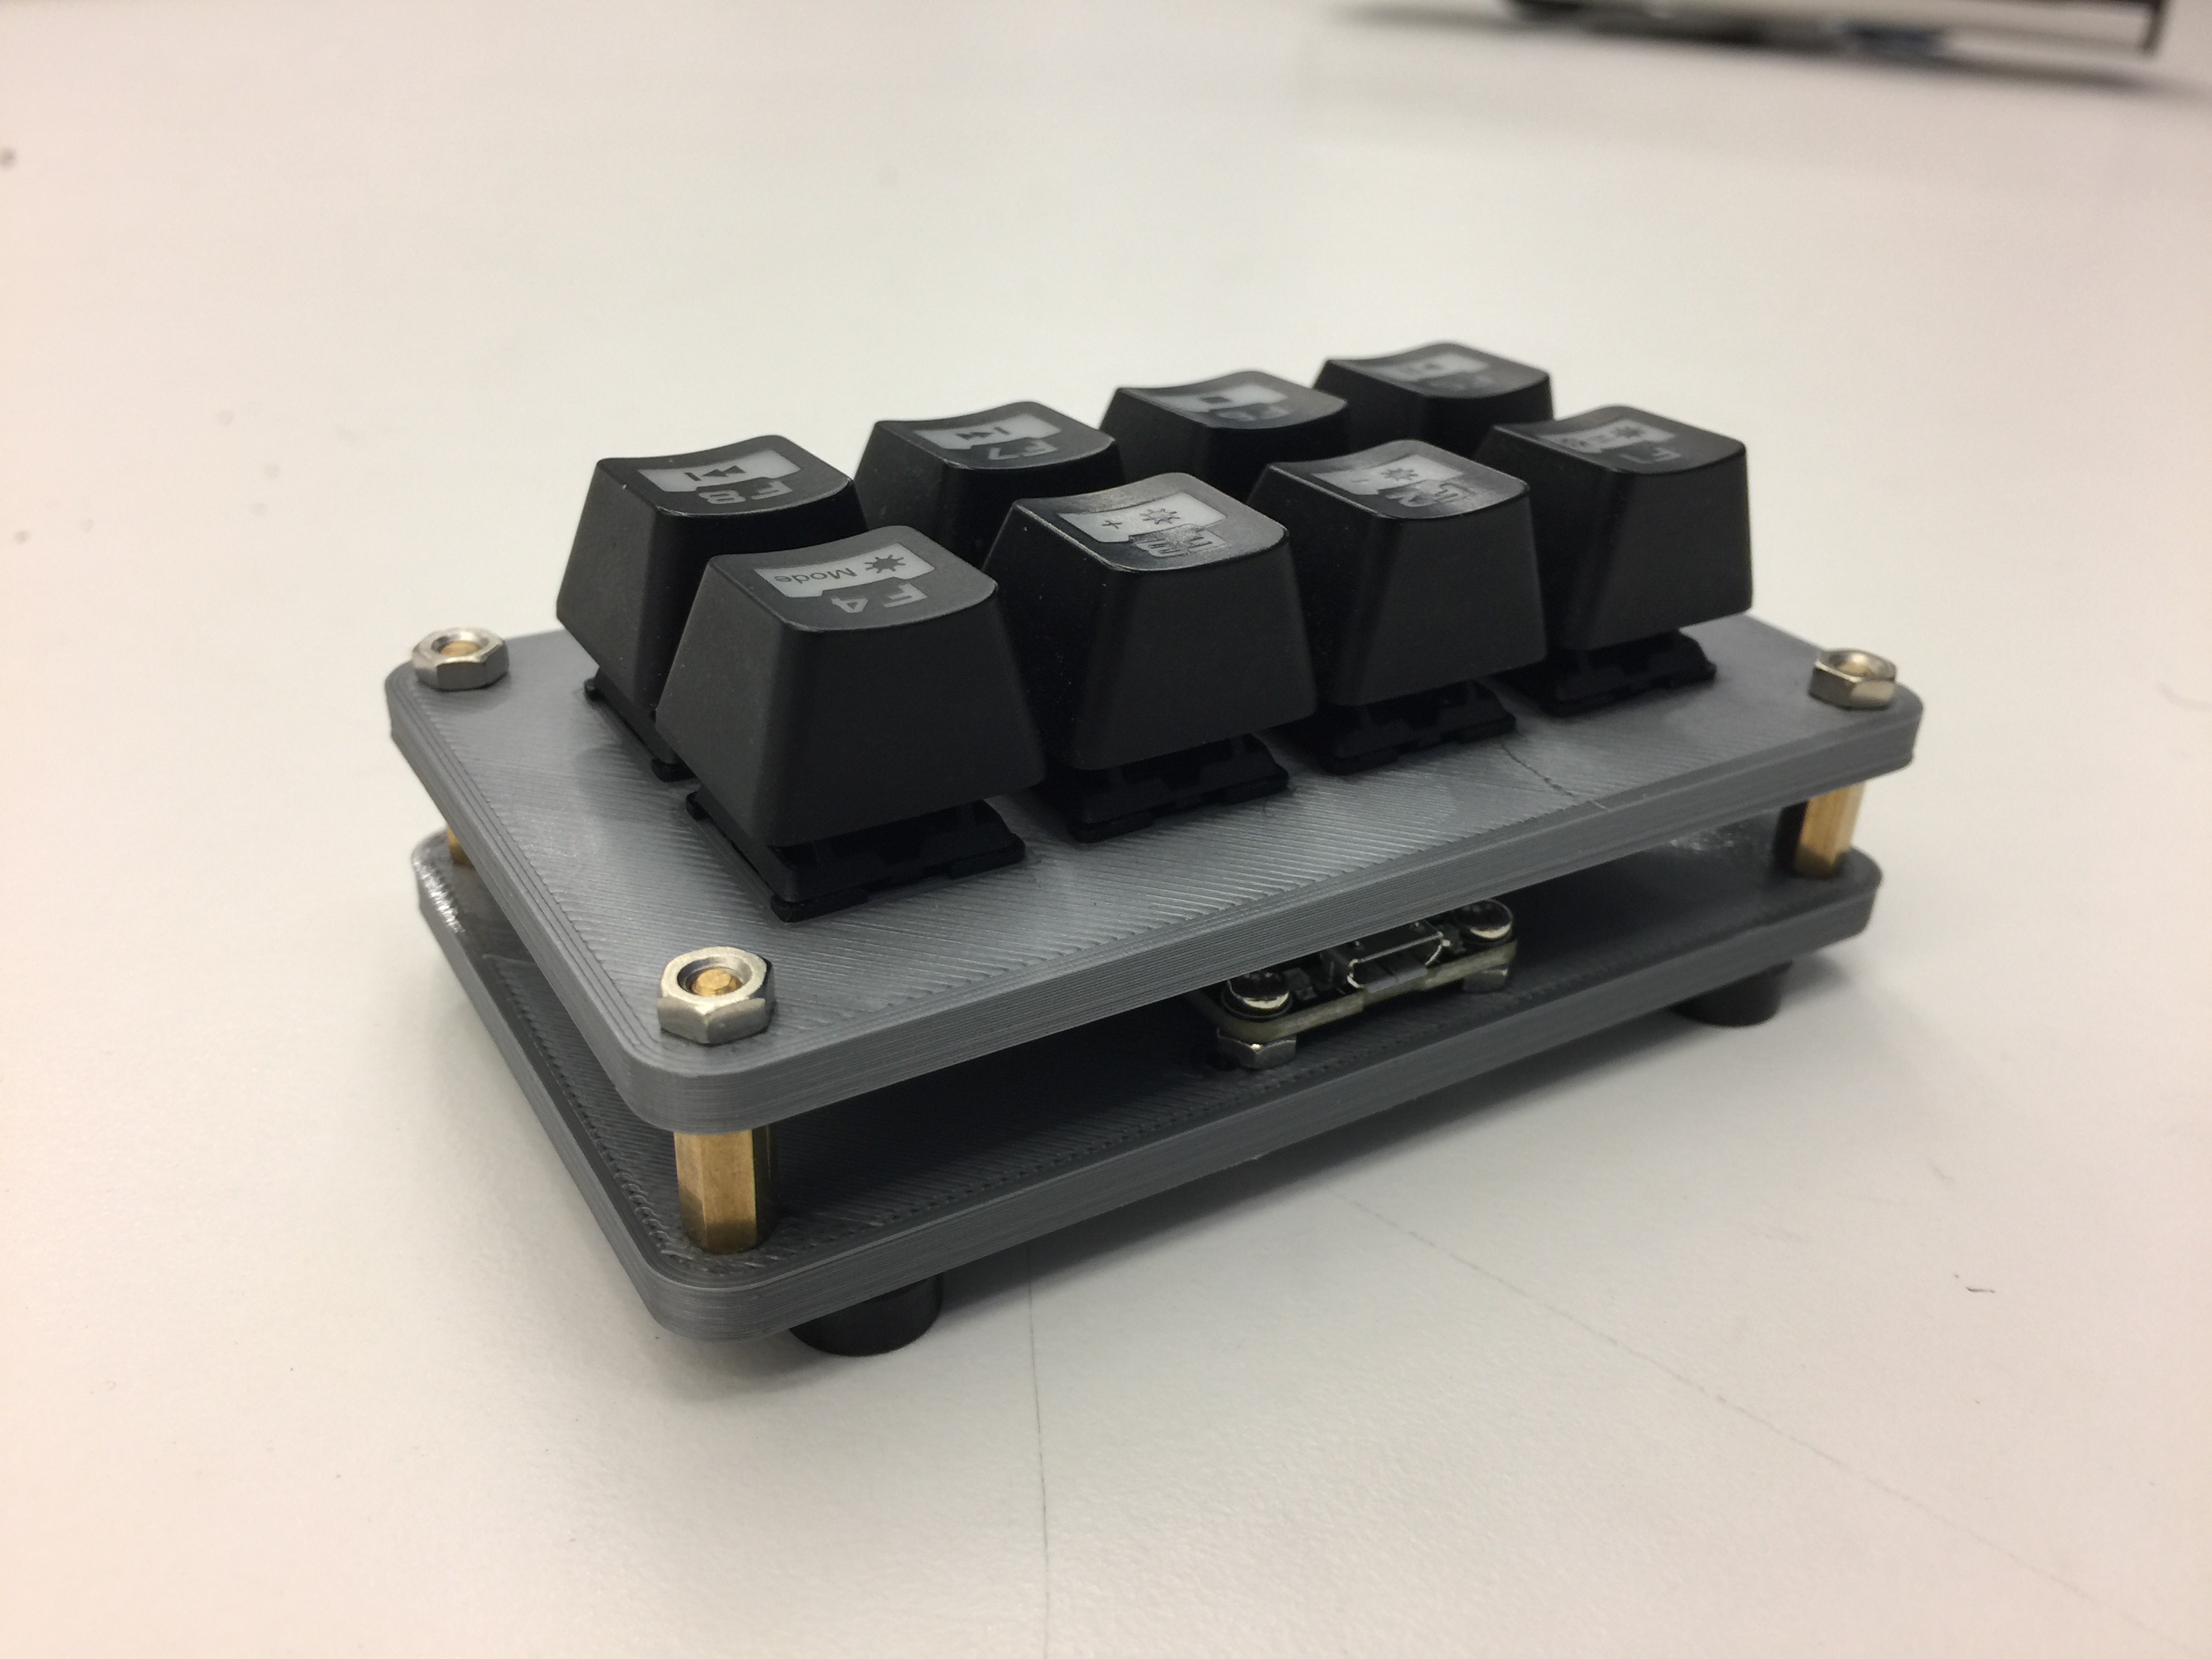
New build for you guys. This time, a possible 8-key design, using an Adafruit Feather M0 for the controller.
I can't understand any thing about some techinacl shit anyone can help me
In indonesia someone sell it the price is too high about 40$ and I can't use my credit card too (controlled by my mom)
In indonesia someone sell it the price is too high about 40$ and I can't use my credit card too (controlled by my mom)
Topic Starter
RIP... Hopefully I could update the guide as well when I have time.quinton69 wrote:
I can't understand any thing about some techinacl shit anyone can help me
In indonesia someone sell it the price is too high about 40$ and I can't use my credit card too (controlled by my mom)
Anyone know teensy alternative for the no-no keyboard i found the Leonardo one help me pls and in Indonesia it's very rare to found 3d printing place
Topic Starter
Leonardo is perfectly adequate for the job, since it contans all the native USB hardware needed for the keyboard functions to work. The only reason I don't recommend these is that their footprint is quite large. Take a look at some sample boards below:quinton69 wrote:
Anyone know teensy alternative for the no-no keyboard i found the Leonardo one help me pls and in Indonesia it's very rare to found 3d printing place
Leonardo:
Teensy LC/3.2:
Pro Micro:
Trinket M0 (in inches):
It all depends on the chip you are using, but also importantly, how the board is implemented.
At some point, you might also have to leard KiCAD/Eagle to learn how to mount chips directly to PCB. Nono most likely has already done that, along with Techkeys, MaxKeyboard, etc...
Can you send me the Arduino coding pls I'm using the two keys shift and z
Do you know the alternative for the pcb
Do you know the alternative for the pcb
Topic Starter
Code is in the OP, though you will have to modify it for your purposes.quinton69 wrote:
Can you send me the Arduino coding pls I'm using the two keys shift and z
Do you know the alternative for the pcb
I already made my code for the pro micro. You just need to tell me your keys and the pins, that you're using, then i'll do it for you. (If you'll use the pro micro ofc)quinton69 wrote:
Can you send me the Arduino coding pls I'm using the two keys shift and z
Do you know the alternative for the pcb
Is this will work with arduino nano ? or i must use like leonardo or uno? I want to use arduino Nano or Mini because it's cheap here xD
Thx to this guide i have managed to make my own osu keyboard.I wanted to thank you and here are some pictures of how mine turned out.

Also i have never wrote code for an arduino pro micro, but this is what i came up with.:
int buttonPin = 9;
int Pinbutton = 6;
#include <Keyboard.h>
void setup()
{
pinMode(buttonPin, INPUT);
digitalWrite(buttonPin, HIGH);
pinMode(Pinbutton, INPUT);
digitalWrite(Pinbutton, HIGH);
}
void loop()
{
if (digitalRead(buttonPin) == 0)
{
Keyboard.press('z');
delay(5);
}
if (digitalRead(buttonPin) == 1)
{
Keyboard.release('z');
}
if (digitalRead(Pinbutton) == 0)
{
Keyboard.press('x');
delay(5);
}
if (digitalRead(Pinbutton) == 1)
{
Keyboard.release('x');
}
}
It works just fine but if someone can edit it to make it better i would appreciate it.
THX FOR THE AWESOME GUIDE.
Topic Starter
^^ No problem
Will update the guides soon. Hopefully by this week.
Will update the guides soon. Hopefully by this week.
thanks for the interesting article, I'm already going to buy all the details and start assembling))
Nice one! I built mine with the Pro Micro too. Isn't your keyboard a bit tall? Seems hard to get your fingers toikorus1 wrote:
Thx to this guide i have managed to make my own osu keyboard.I wanted to thank you and here are some pictures of how mine turned out.
Also i have never wrote code for an arduino pro micro, but this is what i came up with.:
int buttonPin = 9;
int Pinbutton = 6;
#include <Keyboard.h>
void setup()
{
pinMode(buttonPin, INPUT);
digitalWrite(buttonPin, HIGH);
pinMode(Pinbutton, INPUT);
digitalWrite(Pinbutton, HIGH);
}
void loop()
{
if (digitalRead(buttonPin) == 0)
{
Keyboard.press('z');
delay(5);
}
if (digitalRead(buttonPin) == 1)
{
Keyboard.release('z');
}
if (digitalRead(Pinbutton) == 0)
{
Keyboard.press('x');
delay(5);
}
if (digitalRead(Pinbutton) == 1)
{
Keyboard.release('x');
}
}
It works just fine but if someone can edit it to make it better i would appreciate it.
THX FOR THE AWESOME GUIDE.
Edit: Why did you put delays in the code?
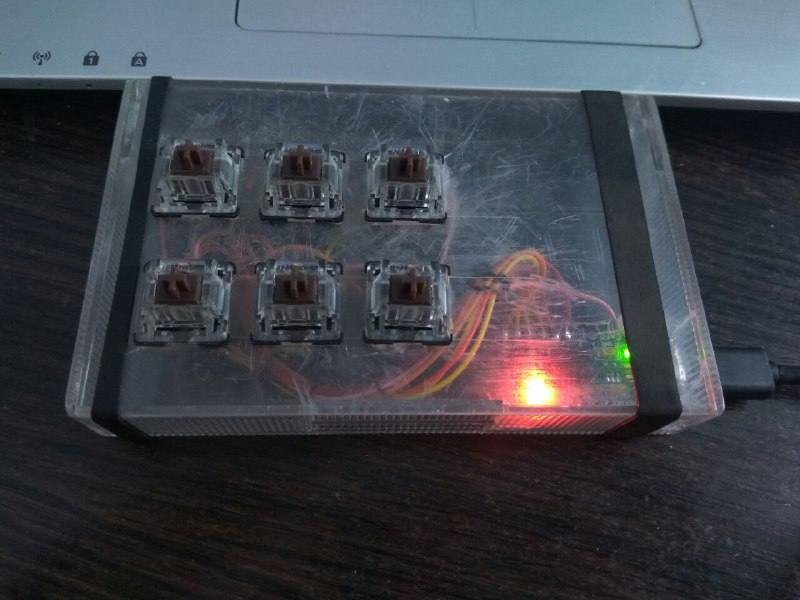
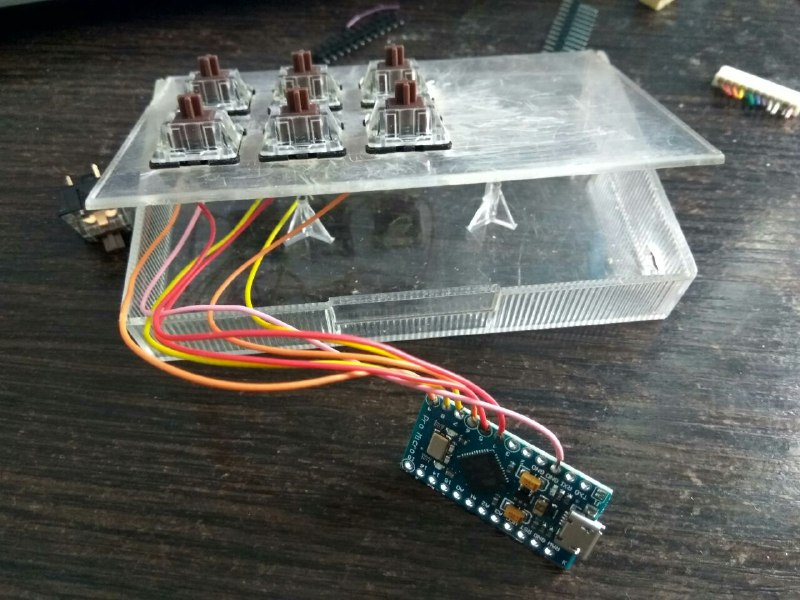
hello, today my arduino came to me and I finally made my custom small keyboard .. That's how it looks so far (I plan to paste it with a print and add the LEDs). Here is the code itself (took from the author above and reworked under 6 buttons). Good luck to all
int buttonPin1 = 4;
int buttonPin2 = 5;
int buttonPin3 = 6;
int buttonPin4 = 7;
int buttonPin5 = 8;
int buttonPin6 = 9;
#include <Keyboard.h>
void setup()
{
pinMode(buttonPin1, INPUT);
digitalWrite(buttonPin1, HIGH);
pinMode(buttonPin2, INPUT);
digitalWrite(buttonPin2, HIGH);
pinMode(buttonPin3, INPUT);
digitalWrite(buttonPin3, HIGH);
pinMode(buttonPin4, INPUT);
digitalWrite(buttonPin4, HIGH);
pinMode(buttonPin5, INPUT);
digitalWrite(buttonPin5, HIGH);
pinMode(buttonPin6, INPUT);
digitalWrite(buttonPin6, HIGH);
}
void loop()
{
if (digitalRead(buttonPin1) == 0)
{
Keyboard.press('z');
delay(5);
}
if (digitalRead(buttonPin1) == 1)
{
Keyboard.release('z');
}
if (digitalRead(buttonPin2) == 0)
{
Keyboard.press('x');
delay(5);
}
if (digitalRead(buttonPin2) == 1)
{
Keyboard.release('x');
}
if (digitalRead(buttonPin3) == 0)
{
Keyboard.press('c');
delay(5);
}
if (digitalRead(buttonPin3) == 1)
{
Keyboard.release('c');
}
if (digitalRead(buttonPin4) == 0)
{
Keyboard.press('`');
delay(5);
}
if (digitalRead(buttonPin4) == 1)
{
Keyboard.release('`');
}
if (digitalRead(buttonPin5) == 0)
{
Keyboard.press(KEY_TAB);
delay(5);
}
if (digitalRead(buttonPin5) == 1)
{
Keyboard.release(KEY_TAB);
}
if (digitalRead(buttonPin6) == 0)
{
Keyboard.press(KEY_ESC);
delay(5);
}
if (digitalRead(buttonPin6) == 1)
{
Keyboard.release(KEY_ESC);
}
}
Topic Starter
Awesome
thnikk osu keypad style
2 hours of solding, 15 min of programming
Code:
#include <Keyboard.h>
void setup() {
Keyboard.begin();
Serial.begin(9600);
}
void loop() {
Serial.println(digitalRead(A2));
if (digitalRead(A2) == HIGH) {
Keyboard.press('w');
}
else {
Keyboard.release('w');
}
Serial.println(digitalRead(A1));
if (digitalRead(A1) == HIGH) {
Keyboard.press('e');
}
else {
Keyboard.release('e');
}
}
Hey, thanks OP for this post!
5 days ago I didn't know anything about Arduinos, Mechanical Keyboards, soldering, 3D-modelizing... learnt it all, and I managed to end up with this, which I'm pretty proud of: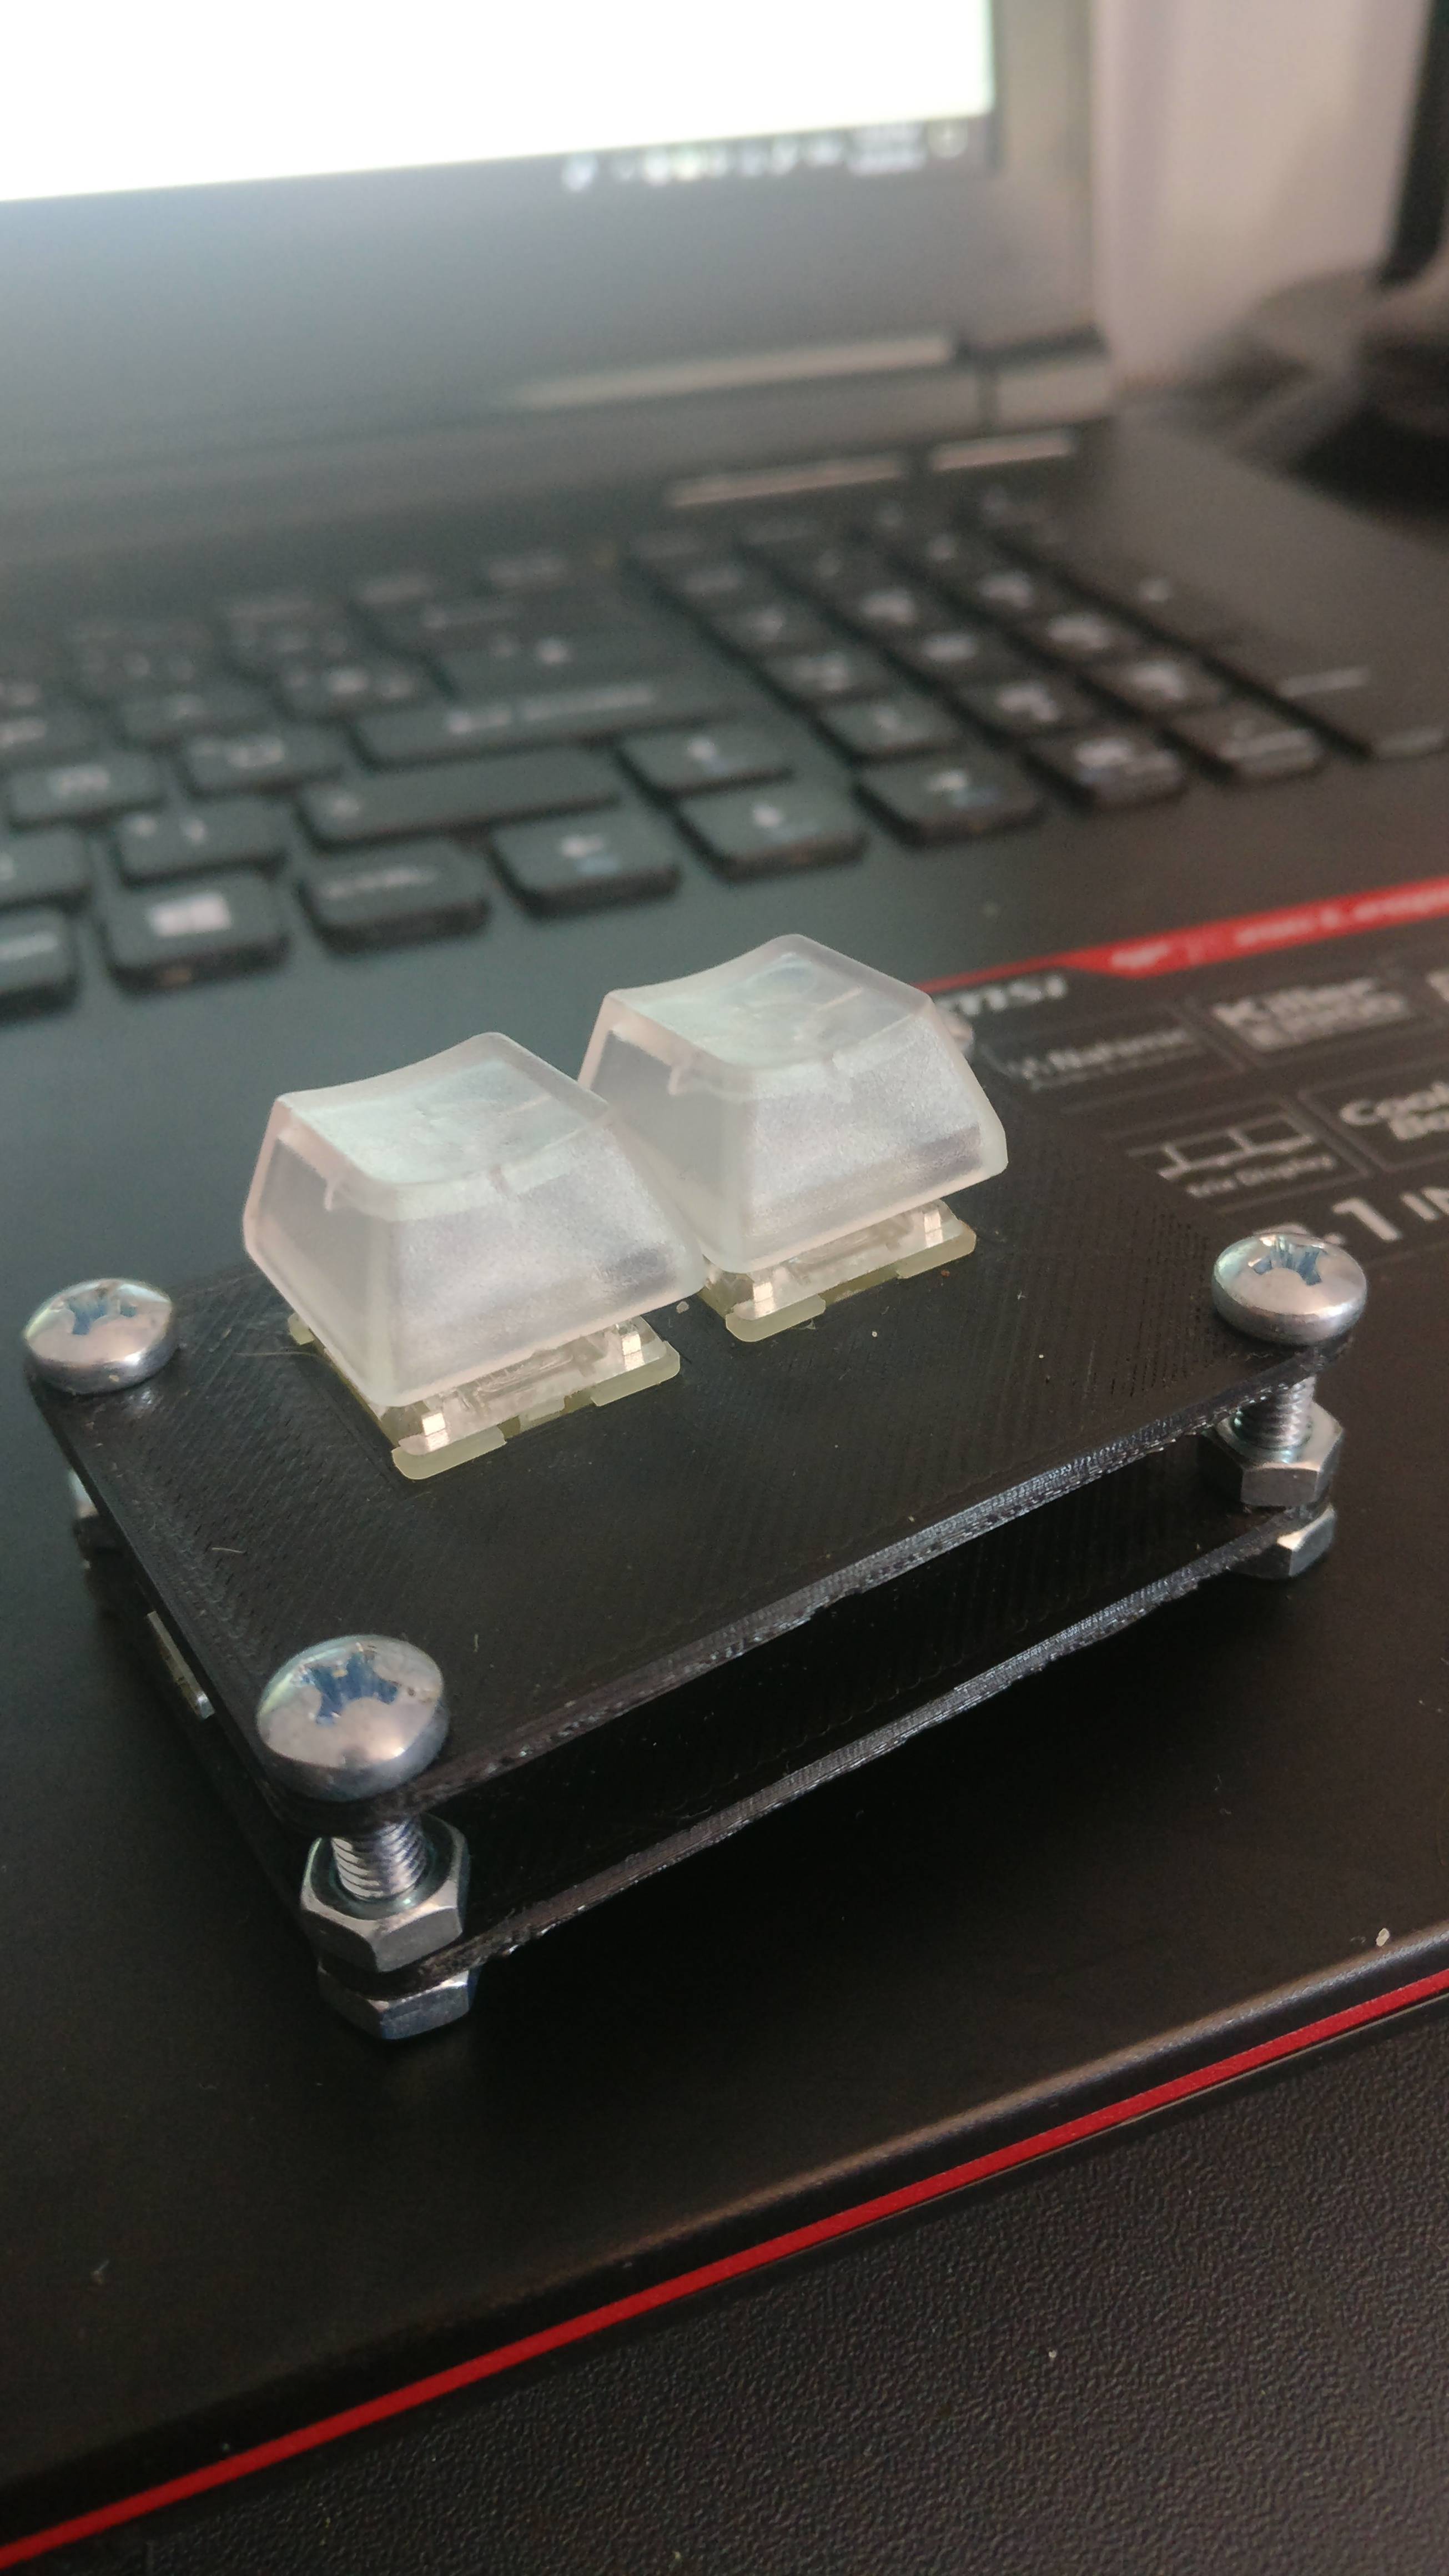
Basically, I bought a Chinese Arduino Pro Micro clone on ebay for less than 3€ and some Cherry MX Silver Switches for about 5€ (I recommend not buying these for developping purposes, they're very expensive on eBay, maybe buy Kailh or any other brand for prototyping), made the case 3D-printed on a P2P website for 6€, and bought for 2.5€ of screws/bolts.
I first learned Arduino code from scratch and gathered some help from the previous posters on this thread, but I end up with my own code, in which I added some extra LEDs (because I don't have any SMD LEDs to add to my switches for now), and I'm planning to add 3 extra buttons (Space, Escape, and Retry) in the future.
Then I bought a soldering iron and started prototyping my keyboard with some breadboard and jumper wires, to learn code and experiment a bit more. When I ended up with something functionnal, I started designing the case (on Tinkercad, very simple to use) and got it printed.
The holes I designed were made for M5 Screws (5.25mm diameter), but they didnt fit, so I ended up using M4 screws (working pretty well).
Here is the code I used:
(keep in mind that I'm using a AZERTY keyboard, that the Arduino IDE doesn't recognize (I guess?))
If you have some questions before jumping into it, don't hesitate ! It's such an easy and great project to start with !
I can send you the 3D file of the case, but it will be even better if you find your own design and let your mind express.
PS: Cherry MX Silver Speed switches are amazing, getting from laptop-keyboard to those is for real amazing !
5 days ago I didn't know anything about Arduinos, Mechanical Keyboards, soldering, 3D-modelizing... learnt it all, and I managed to end up with this, which I'm pretty proud of:
Basically, I bought a Chinese Arduino Pro Micro clone on ebay for less than 3€ and some Cherry MX Silver Switches for about 5€ (I recommend not buying these for developping purposes, they're very expensive on eBay, maybe buy Kailh or any other brand for prototyping), made the case 3D-printed on a P2P website for 6€, and bought for 2.5€ of screws/bolts.
I first learned Arduino code from scratch and gathered some help from the previous posters on this thread, but I end up with my own code, in which I added some extra LEDs (because I don't have any SMD LEDs to add to my switches for now), and I'm planning to add 3 extra buttons (Space, Escape, and Retry) in the future.
Then I bought a soldering iron and started prototyping my keyboard with some breadboard and jumper wires, to learn code and experiment a bit more. When I ended up with something functionnal, I started designing the case (on Tinkercad, very simple to use) and got it printed.
The holes I designed were made for M5 Screws (5.25mm diameter), but they didnt fit, so I ended up using M4 screws (working pretty well).
Here is the code I used:
#include <Keyboard.h>

int W = 2;

int X = 8;

int LED1 = 6;

int LED2 = 7;


void setup()

{

Serial.begin(9600);


pinMode(W, INPUT);

pinMode(LED1, OUTPUT);

digitalWrite(W, HIGH);


pinMode(X, INPUT);

pinMode(LED2, OUTPUT);

digitalWrite(X, HIGH);

}


void loop(){


if (digitalRead(W) == 0)

{

Keyboard.press('z');

digitalWrite(LED1, HIGH);

delay(5);

}


if (digitalRead(W) == 1)

{

Keyboard.release('z');

digitalWrite(LED1, LOW);

}


if (digitalRead(X) == 0)

{

Keyboard.press('x');

digitalWrite(LED2, HIGH);

delay(5);

}


if (digitalRead(X) == 1)

{

Keyboard.release('x');

digitalWrite(LED2, LOW);

}

}
(keep in mind that I'm using a AZERTY keyboard, that the Arduino IDE doesn't recognize (I guess?))
If you have some questions before jumping into it, don't hesitate ! It's such an easy and great project to start with !
I can send you the 3D file of the case, but it will be even better if you find your own design and let your mind express.
PS: Cherry MX Silver Speed switches are amazing, getting from laptop-keyboard to those is for real amazing !